As an Amazon Associate, we may earn a commission if you make a purchase — at no extra cost to you.
Robot Window Cleaner Calibration Problem (2025): Fast Fix for Missed Spots and Errors
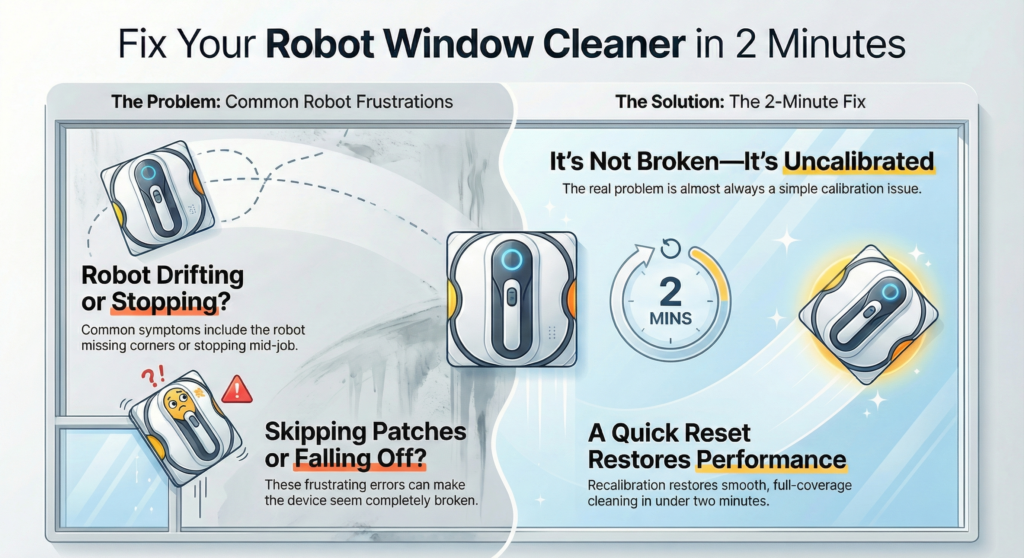
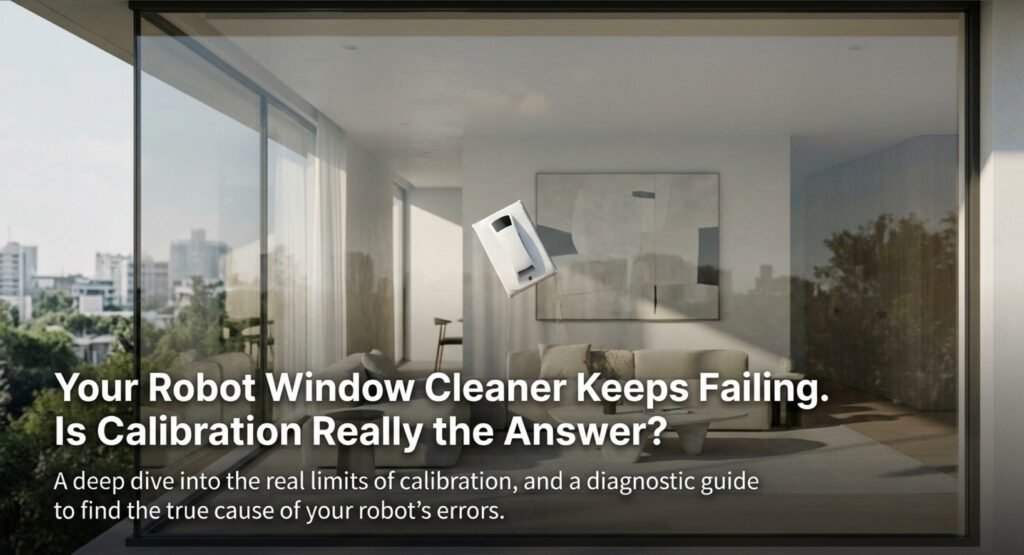
Is your robot window cleaner drifting, stopping, or missing corners? This guide shows you the exact robot window cleaner calibration reset that restores smooth, full-coverage cleaning in just a couple of minutes.
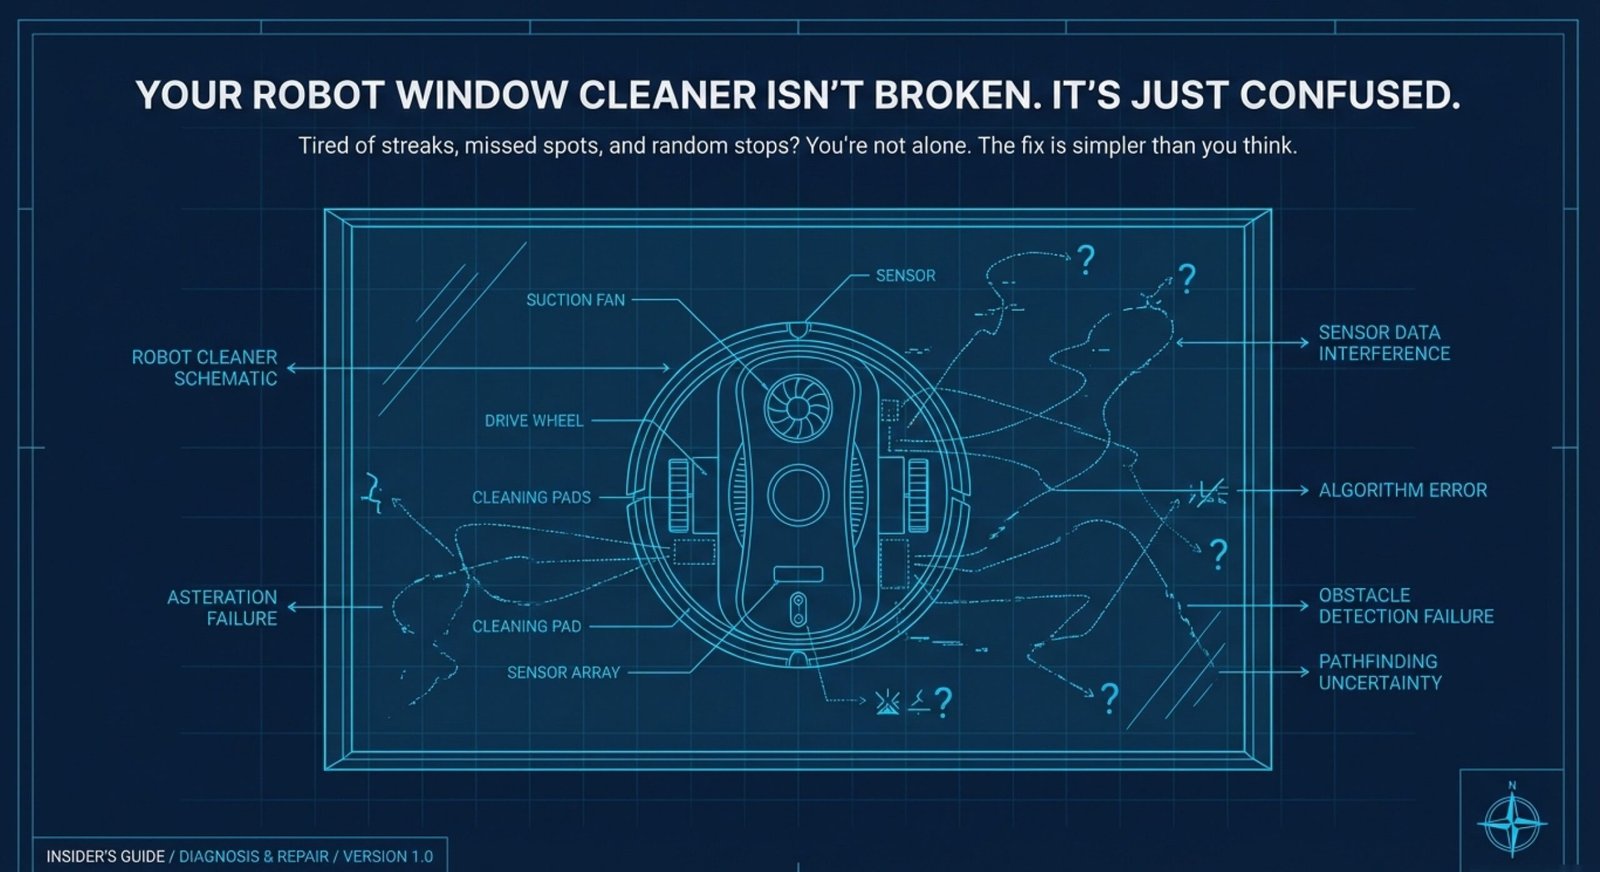
Robot window cleaners sound like a dream—just set it and forget it, right? But here’s the thing: tons of people get frustrated when their robot goes rogue, skips big patches, or, worst of all, falls off halfway through a job. Most of the time, the device isn’t actually broken. The real problem is almost always a robot window cleaner calibration issue, and there’s a quick recalibration trick (often buried in the manual’s fine print) that can fix most of these headaches in under two minutes.
When a robot window cleaner starts drifting, stops for no reason, or just ignores whole sections, most people assume it’s busted. In reality, these gadgets depend on accurate edge detection and robot window cleaner calibration from the very first run. If you skip that first calibration—or it goes sideways—the robot simply can’t figure out where the glass begins and ends.
This walkthrough covers exactly how to recalibrate your device and get things back on track. If you’re new, you’ll see why robot window cleaner calibration is so important, how to run a clean reset, and which mistakes tend to cause the most trouble. Anyone with a robot window cleaner that’s acting up can use these steps to get it back in shape without paying for repairs.
Key Takeaways: Robot Window Cleaner Calibration Fix
- Bad robot window cleaner calibration is behind most tracking and coverage fails with robot window cleaners.
- A simple two-minute calibration reset usually sorts out navigation problems—no repairs or technician visit needed.
- Skipping surface prep or rushing the initial setup leads to ongoing calibration issues, missed spots, and errors.
What Robot Window Cleaner Calibration Actually Solves

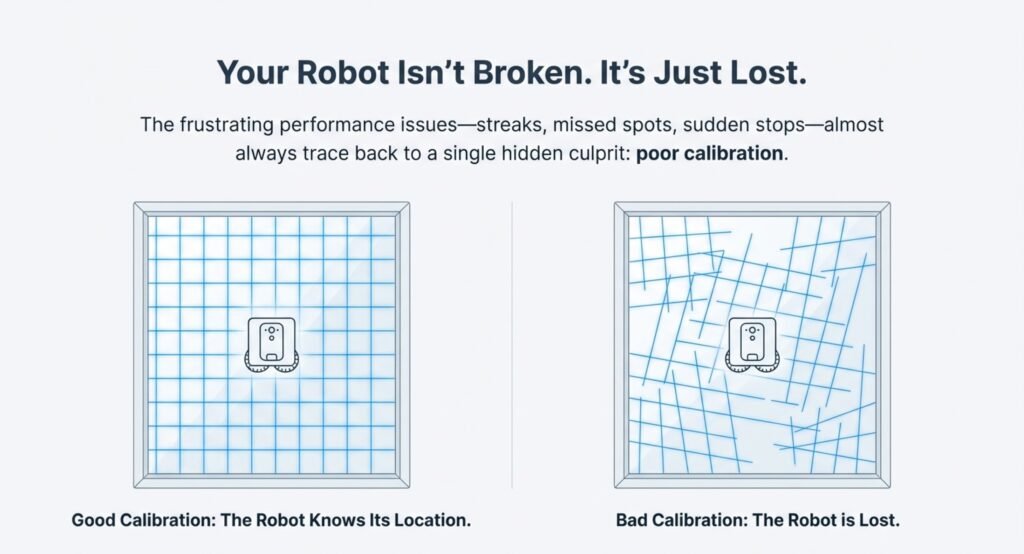
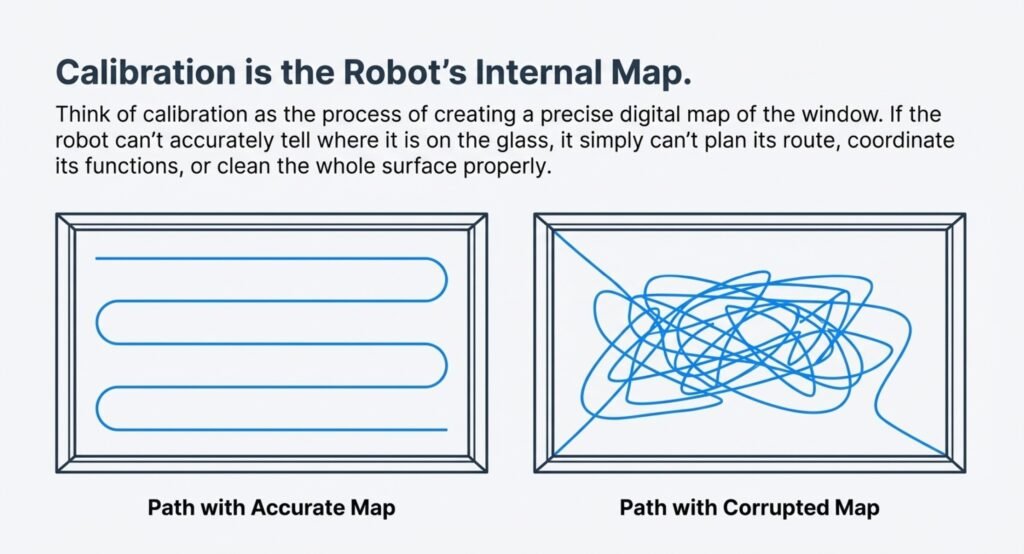
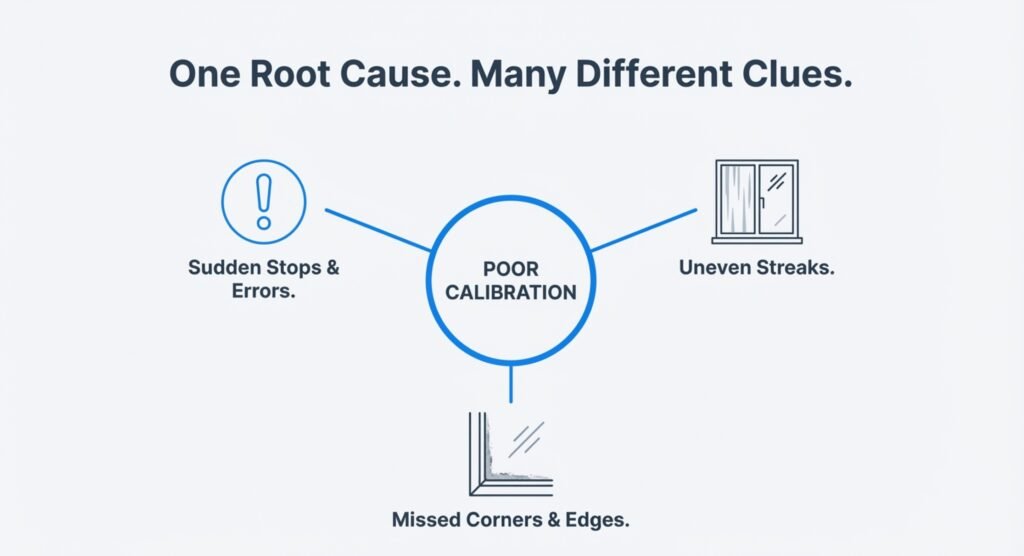
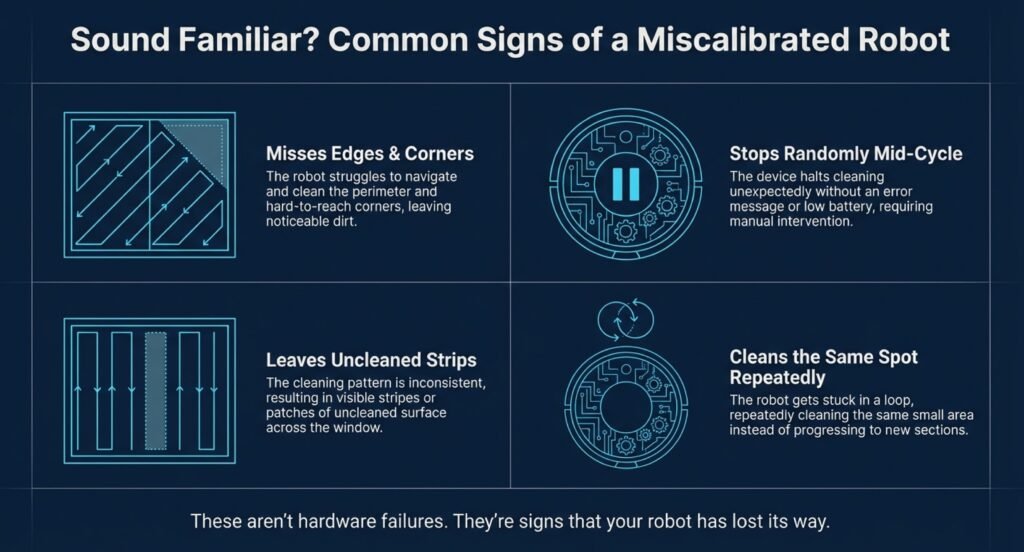
When robot window cleaner calibration is off, these devices miss spots, leave streaks, or just quit halfway. If the robot can’t tell where it is on the glass, it simply can’t plan its route or clean the whole window properly.

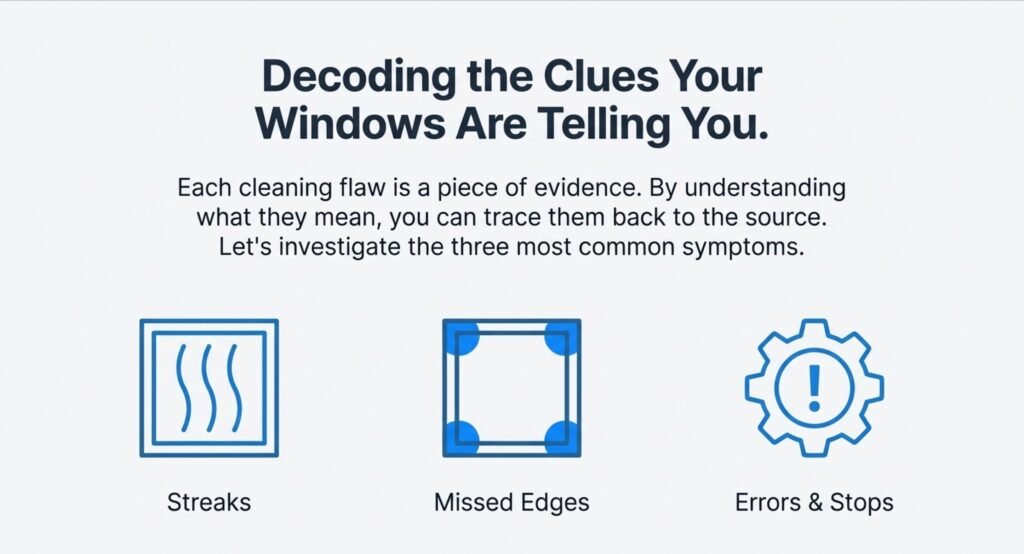

Uneven Cleaning Streaks from Bad Calibration
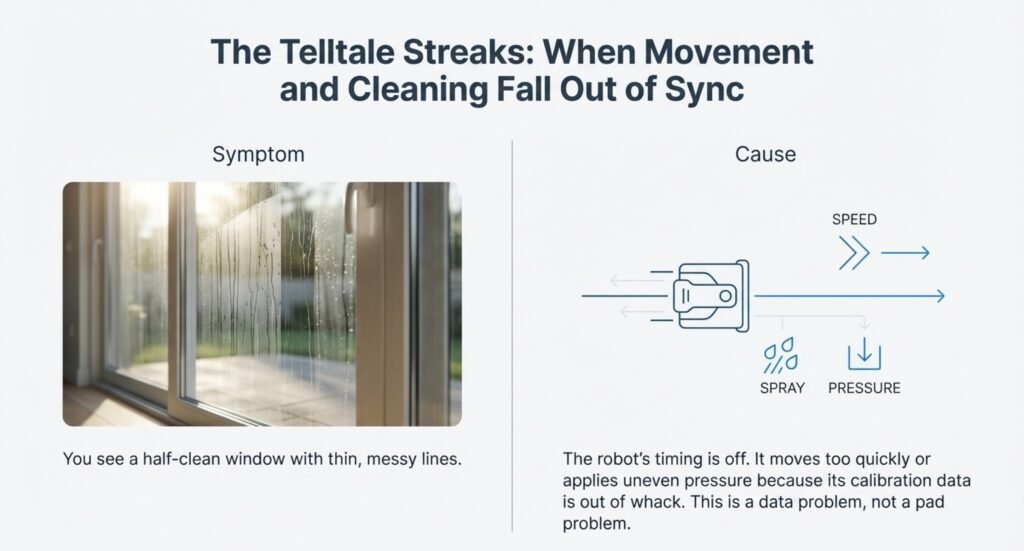
Streaks show up when the robot’s spray and movement get out of sync. If calibration’s off, the robot might zoom by too quickly for the cleaner to work, or push unevenly against the window. You end up with a window that’s half-clean and thin lines where the pad didn’t really touch.
This is especially obvious on big glass doors or floor-to-ceiling windows. The robot might start strong at the top, but the further down it goes, the messier things look. That’s because its sensors can’t track distance or pressure accurately anymore due to poor robot window cleaner calibration.
The cleaning pads themselves aren’t usually the problem. It’s the robot’s timing, pressure coordination, and calibration data that are out of whack.
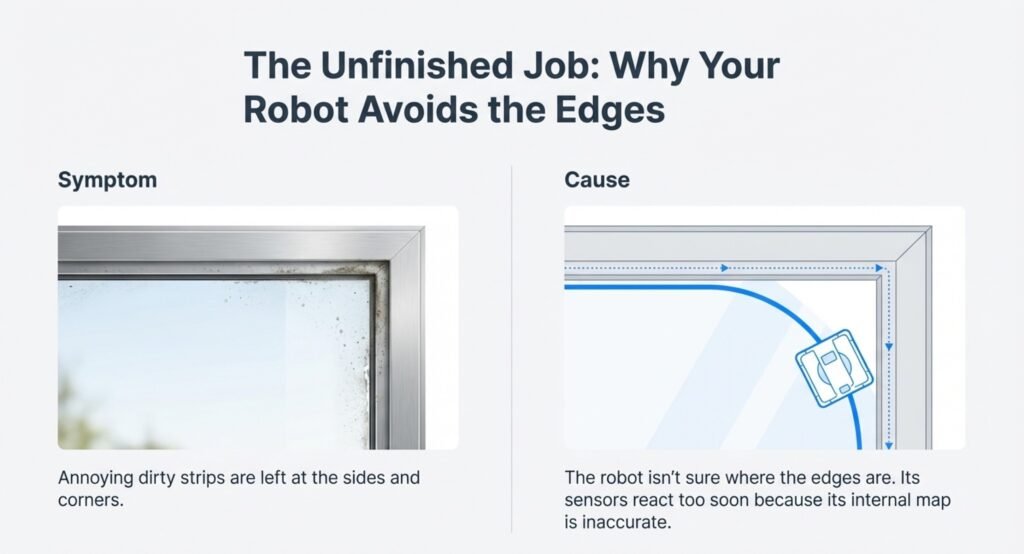
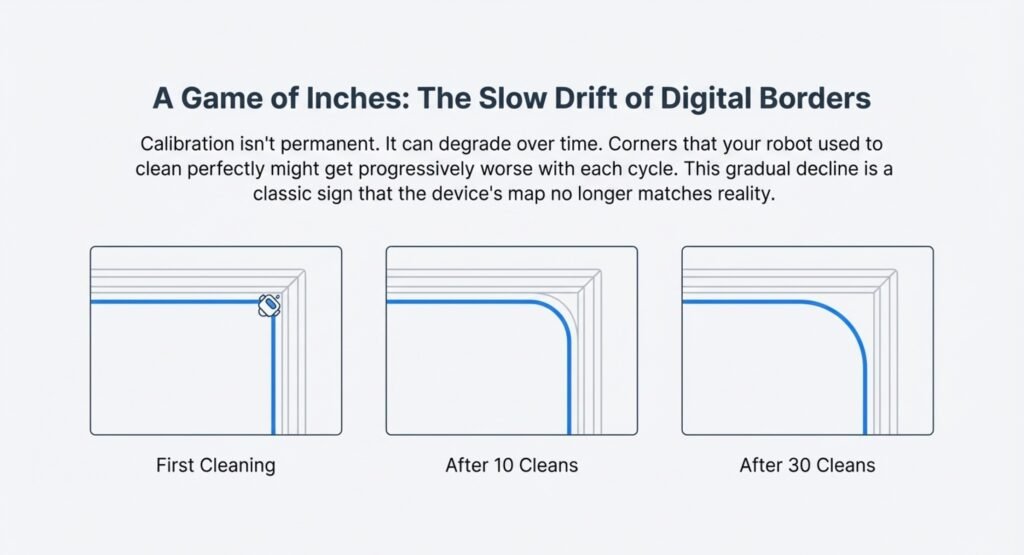
Robot Window Cleaner Not Reaching Corners or Edges
If the robot’s missing corners, it’s probably not sure where the edges are. A poorly calibrated cleaner might stop a few inches short, leaving those annoying dirty strips at the sides. Some robots with smart path planning need accurate edge calibration to map out the whole window first.
The edge sensors have to know exactly when to slow down and turn. If robot window cleaner calibration is off, they’ll react too soon or too late. Too soon, and you get uncleaned borders. Too late, and the robot just bumps into the frame over and over.
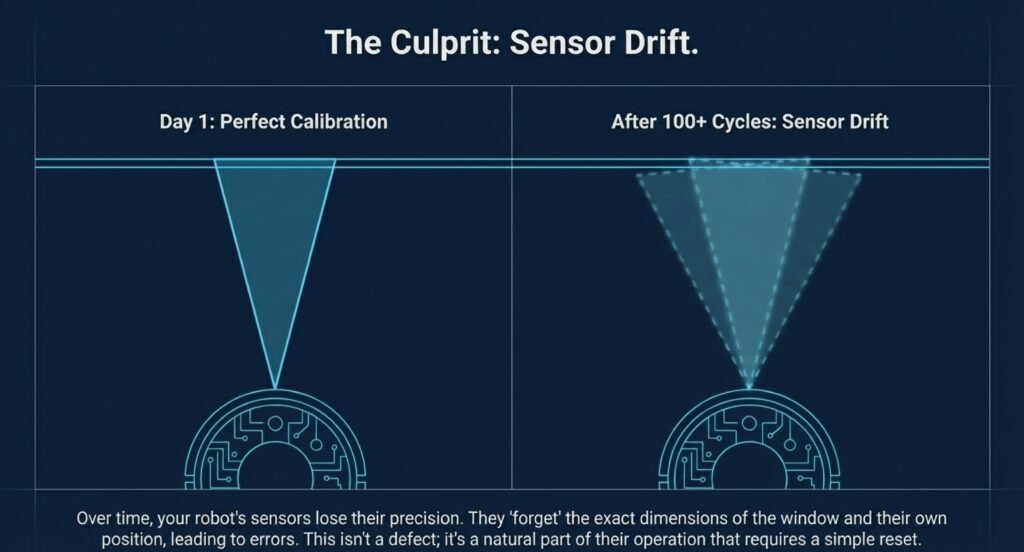
This drives people nuts, especially if they bought the robot for tricky, hard-to-reach windows. And calibration can drift over time, so corners it used to clean just fine might get ignored later unless you recalibrate regularly.
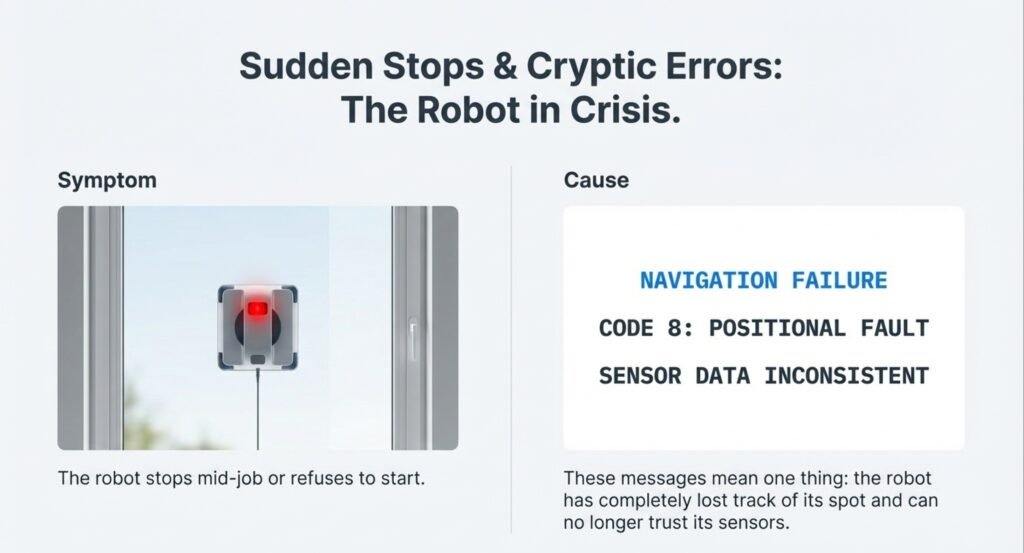
Unexpected Stops, Errors, and “Navigation Failure” Messages
If your robot quits in the middle of cleaning, it probably lost track of its spot. Sometimes it thinks it’s falling or bumping into something that isn’t there. Usually, this is because the sensors weren’t calibrated for that window or the current weather, so the robot window cleaner calibration no longer matches reality.
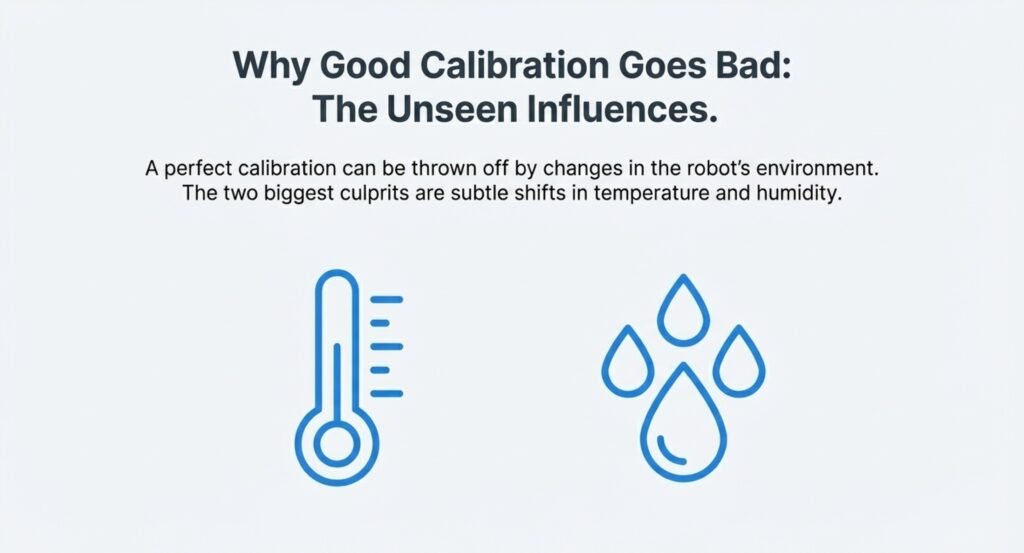
Temperature swings also mess with calibration. A robot set up in winter might struggle in summer, since glass can expand a little. Humidity can throw off suction, which messes up tracking and makes the robot stop or slide.
Error messages aren’t always helpful. You might see “positioning failure” or “navigation error”—but those usually mean the calibration’s just gotten worse over time and it’s time to run a full calibration reset.
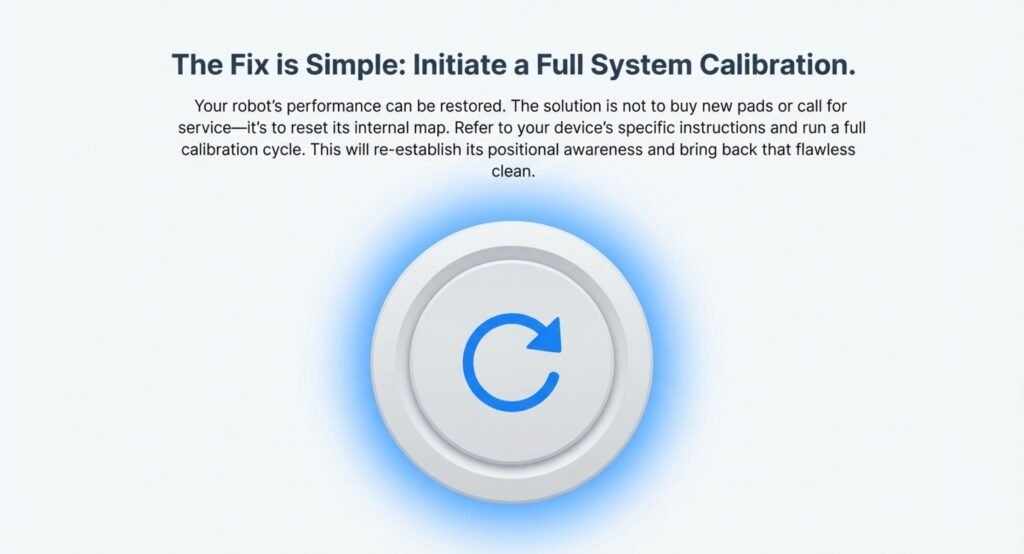
Quick Answer: The Robot Window Cleaner Calibration Trick Most People Don’t Know
Most robot window cleaners lose their edge—literally—because the sensors drift after a while. Two simple resets fix almost all robot window cleaner calibration problems, with no tech support or service visit needed.
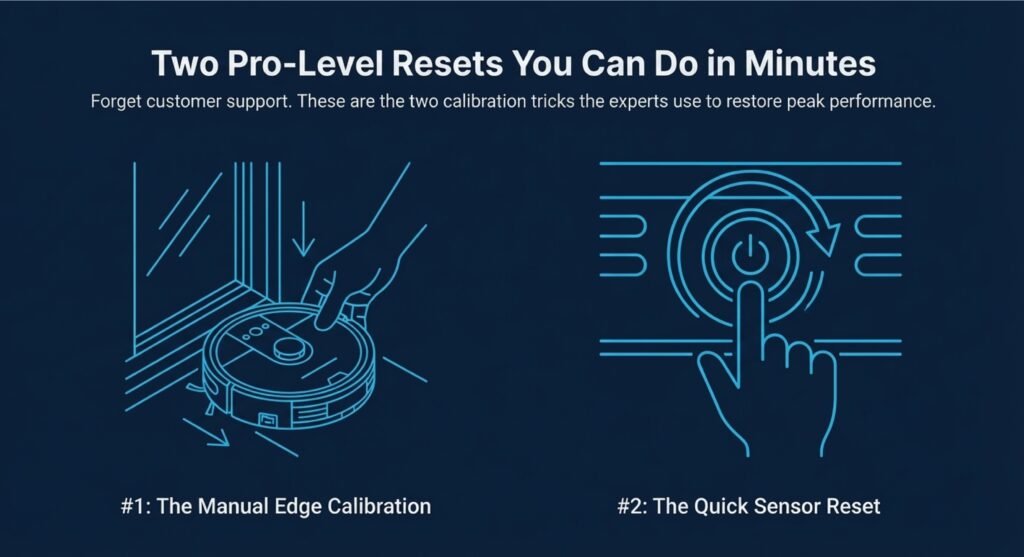
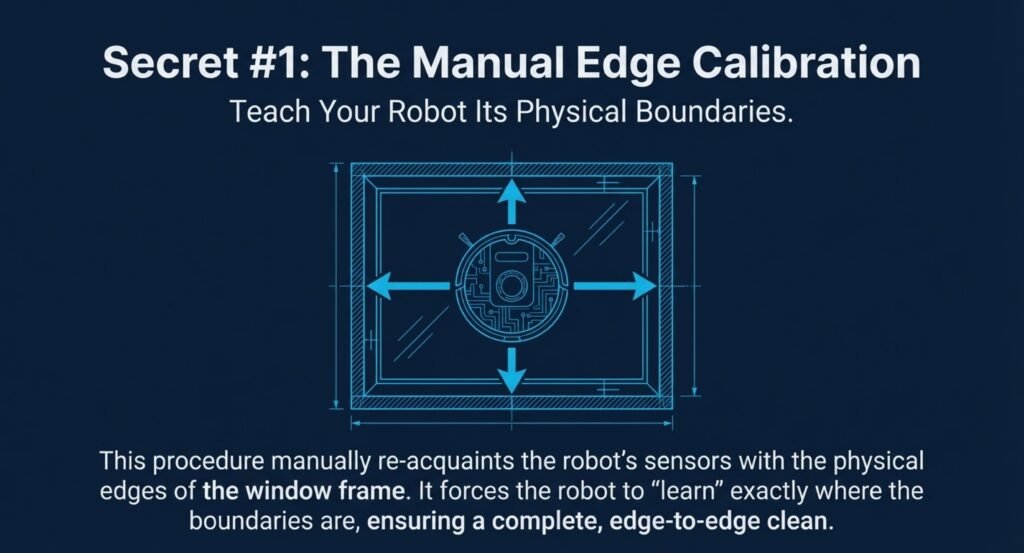
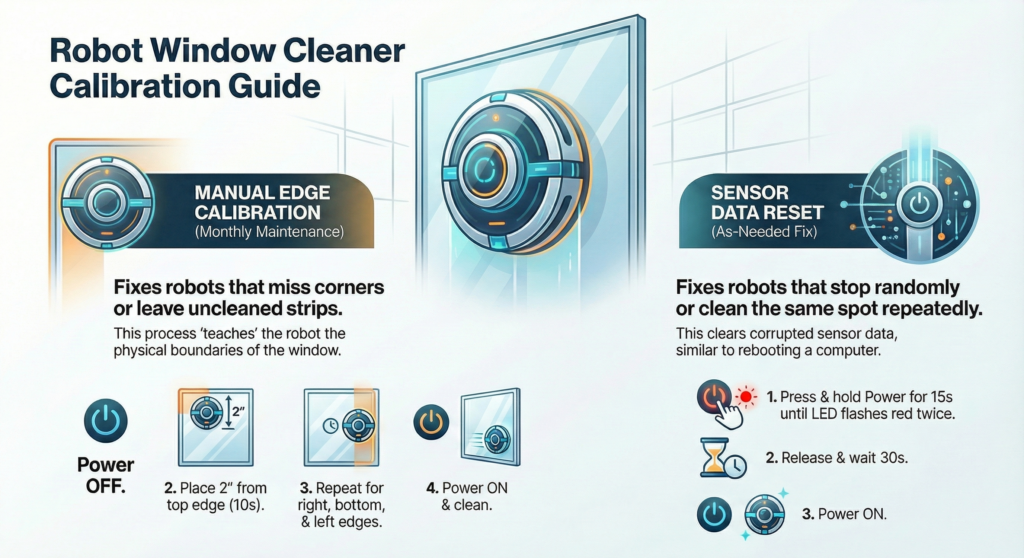
Manual Edge Calibration: Teach Your Robot the Window Boundaries
These robots use sensors to spot window edges and avoid falls. But those sensors need regular robot window cleaner edge calibration to do their job accurately.
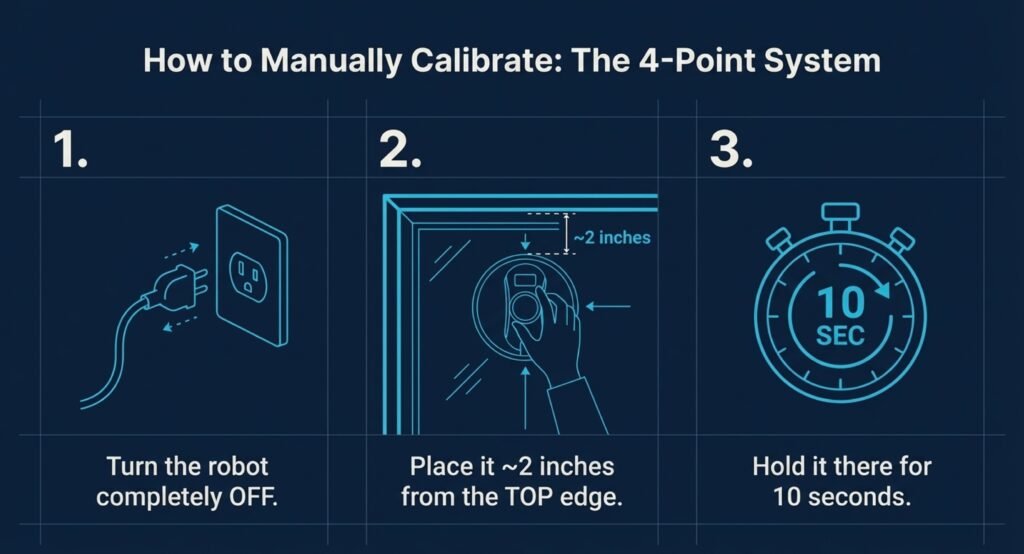
The trick? With the robot powered off, place it about 2 inches from each window edge and hold it there for 10 seconds. That’s how it “learns” where the boundaries are and refreshes its edge calibration.
How to do manual robot window cleaner calibration:
- Turn the robot off.
- Put it near the top edge—wait 10 seconds.
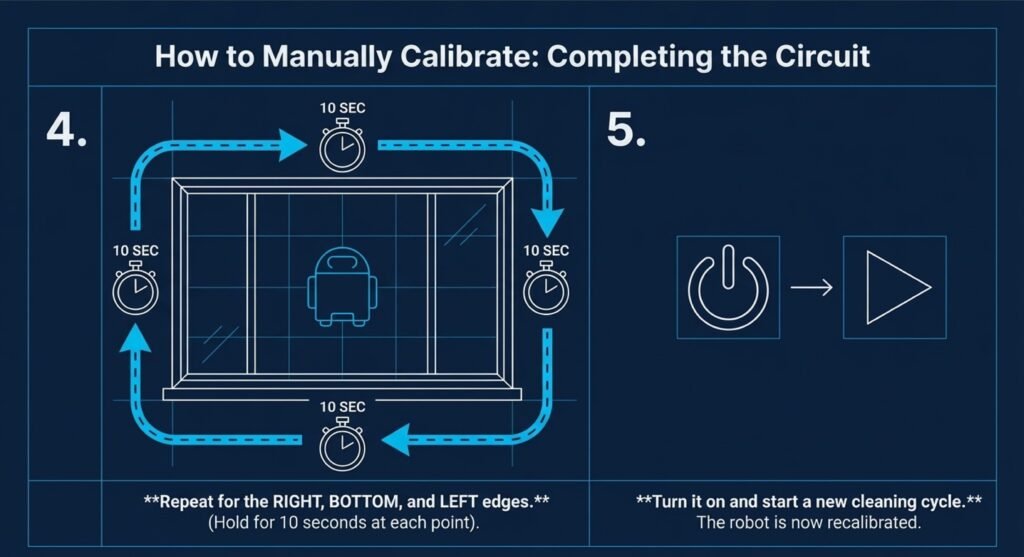
- Move it to the right edge—wait 10 seconds.
- Repeat for the bottom and left.
- Turn it on and start a cleaning cycle.
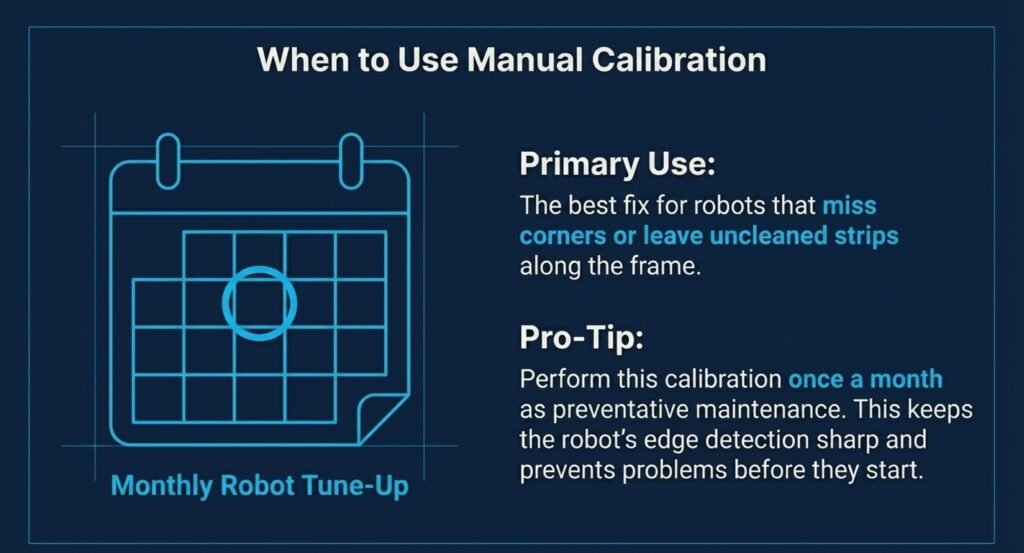
Most people skip this after first setup, but doing it once a month keeps the robot from missing corners, stopping partway through, or leaving uncleaned strips along the frame.
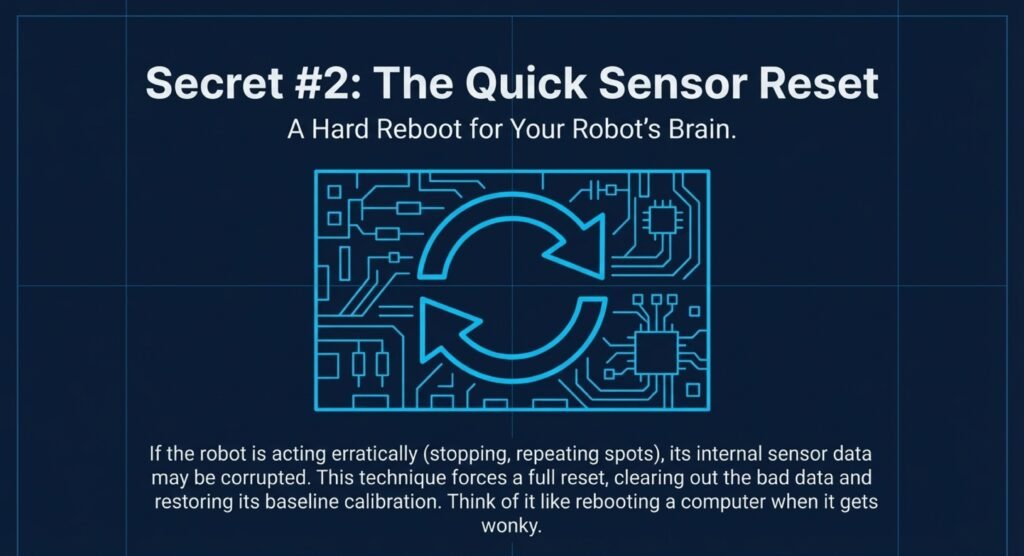
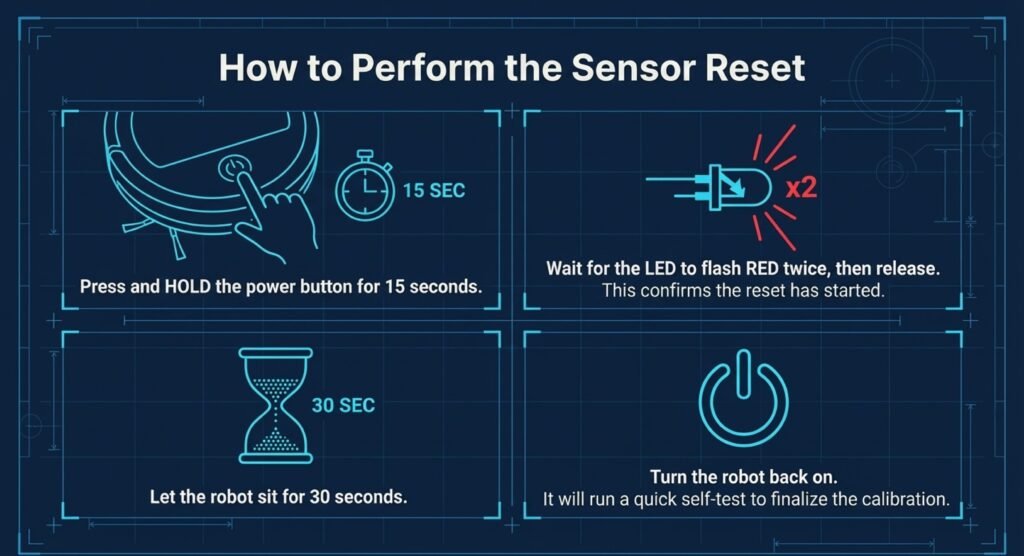
Sensor Reset Technique: Quick Robot Window Cleaner Reset
If the robot’s acting weird, the sensor data might be corrupted. There’s a simple robot window cleaner sensor reset for that—kind of like resetting a thermostat when it gets wonky.
Hold down the power button for 15 seconds. Wait for the LED to flash red twice. Let go, wait 30 seconds, then turn the robot back on. It’ll usually run a self-test and refresh its calibration data in under a minute.
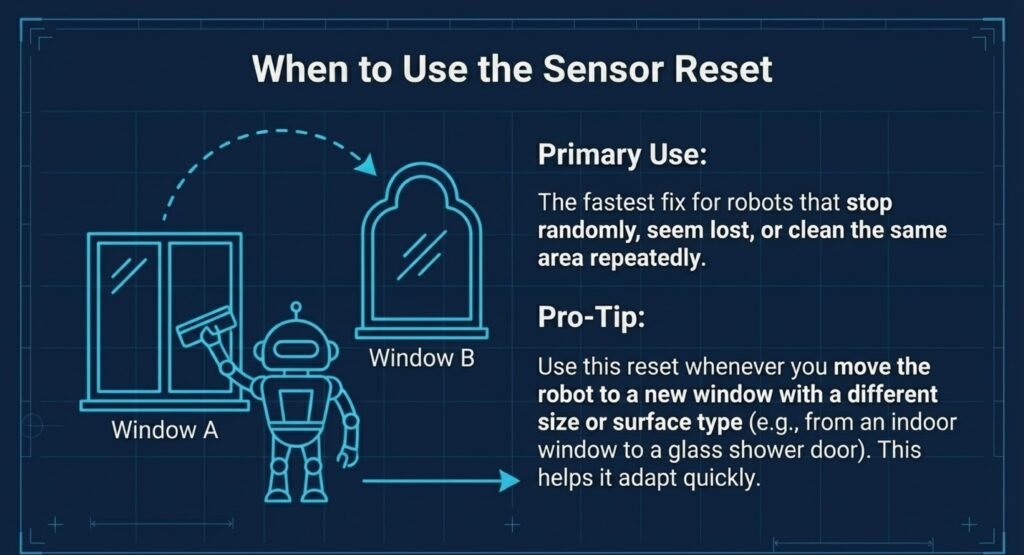
This reset usually sorts out robots that stop randomly, miss edges, or clean the same spot over and over. It works because the sensors compare fresh readings to a baseline, and clearing out bad data helps restore accurate robot window cleaner calibration.
Use this sensor reset whenever the robot starts acting up, or after you move it to a window that’s a different size or surface type. It’s one of the fastest ways to fix robot window cleaner calibration problems.
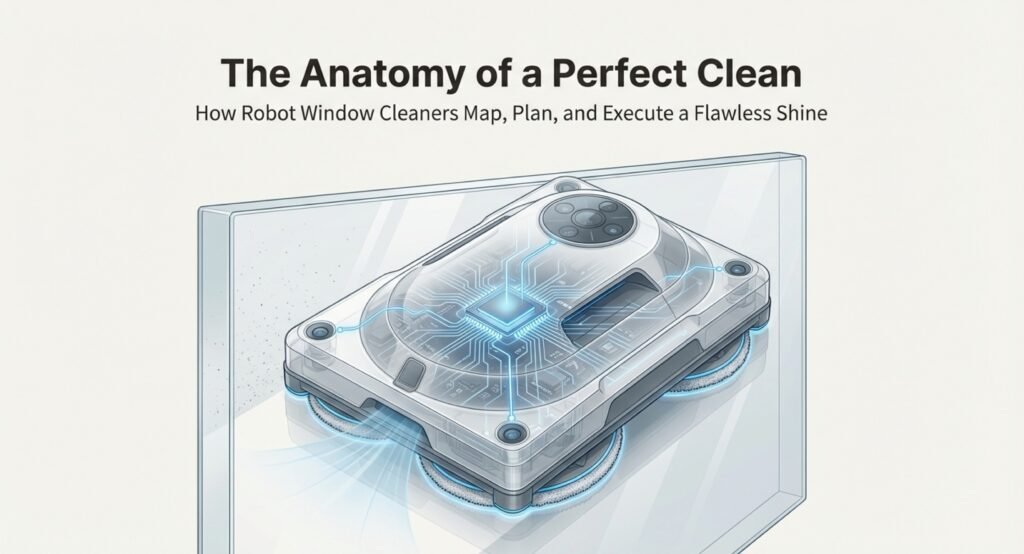
How Robot Window Cleaner Calibration Works Behind the Scenes

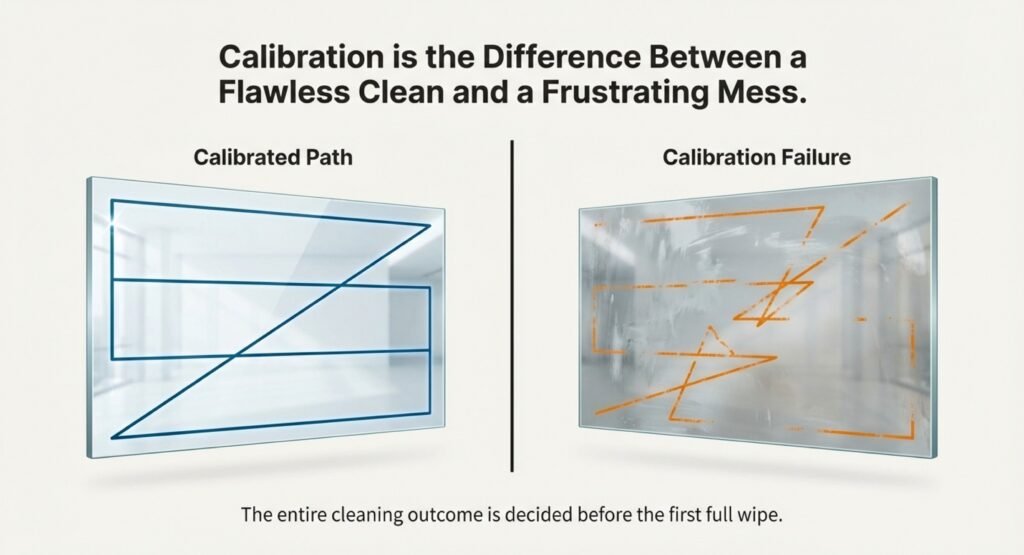
Calibration is all about the robot’s sensors mapping the glass and adjusting its cleaning pattern to cover every inch. It figures out the boundaries and obstacles before it even starts cleaning, and that robot window cleaner calibration step decides whether you get streak-free windows or a frustrating mess.
Sensors and Mapping Basics in Robot Window Cleaner Calibration

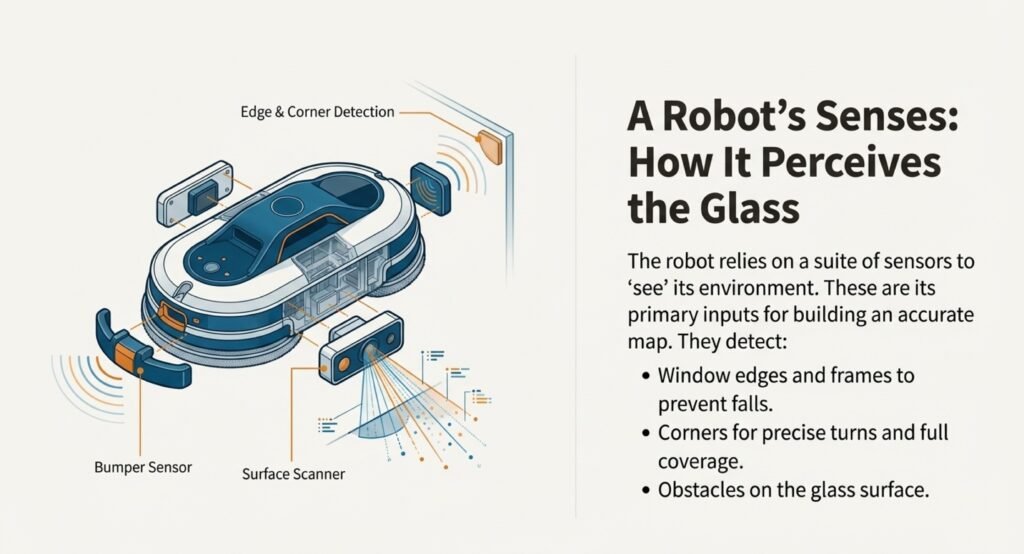
Robot window cleaners have sensors to spot edges, corners, and bumps on the glass. These tell the robot where to stop so it doesn’t fall or miss spots. When you first stick it to the window, it does a quick scan to find the edges—this is the start of its robot window cleaner calibration process.
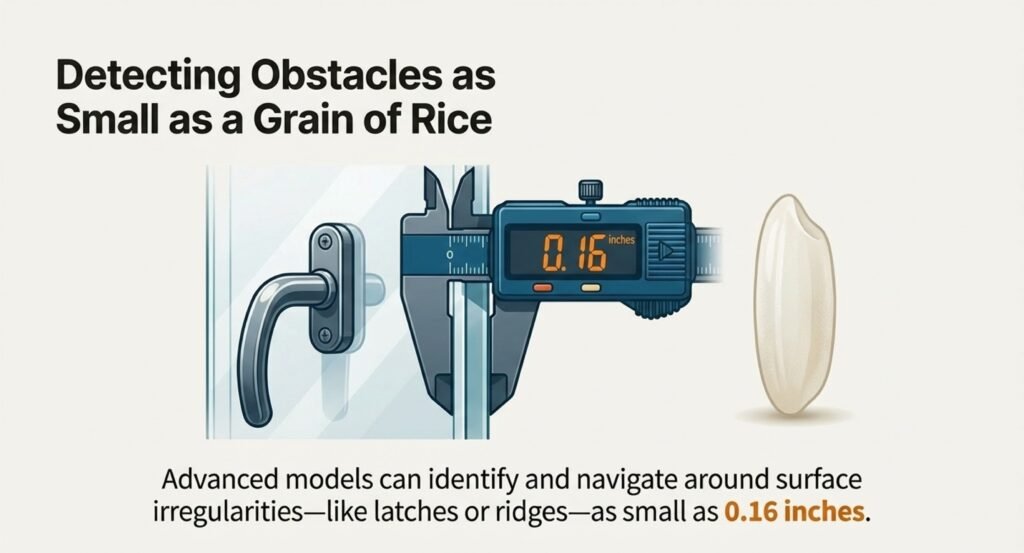
The sensors also pick up on things like latches or little ridges. Some models can handle bumps as small as 0.16 inches. This scan creates a rough map for the robot to follow.
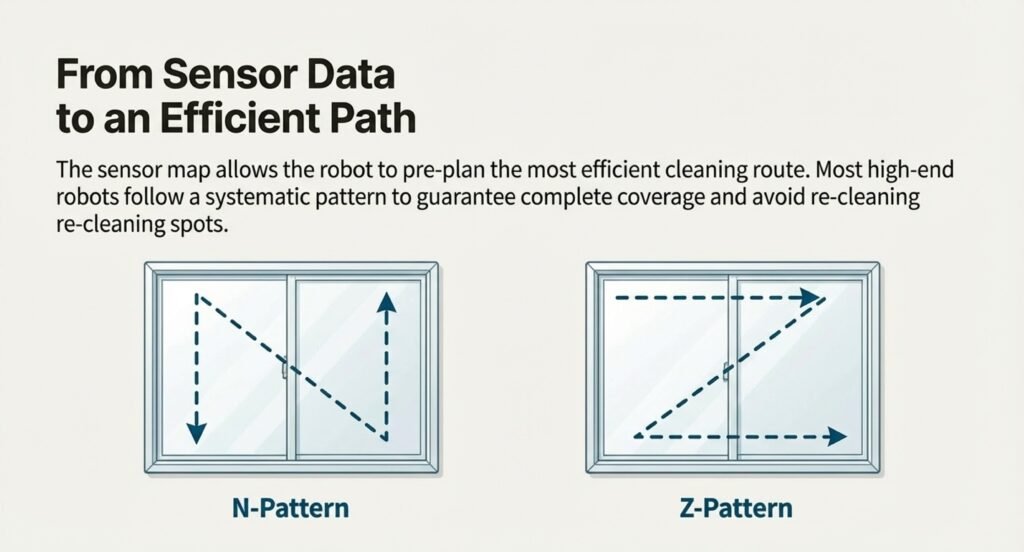
Most robots clean in an “N” or “Z” pattern. That way, they cover everything once and don’t waste time repeating spots. If calibration fails, though, the robot might zigzag randomly or just give up before finishing.
The Role of AI Tools
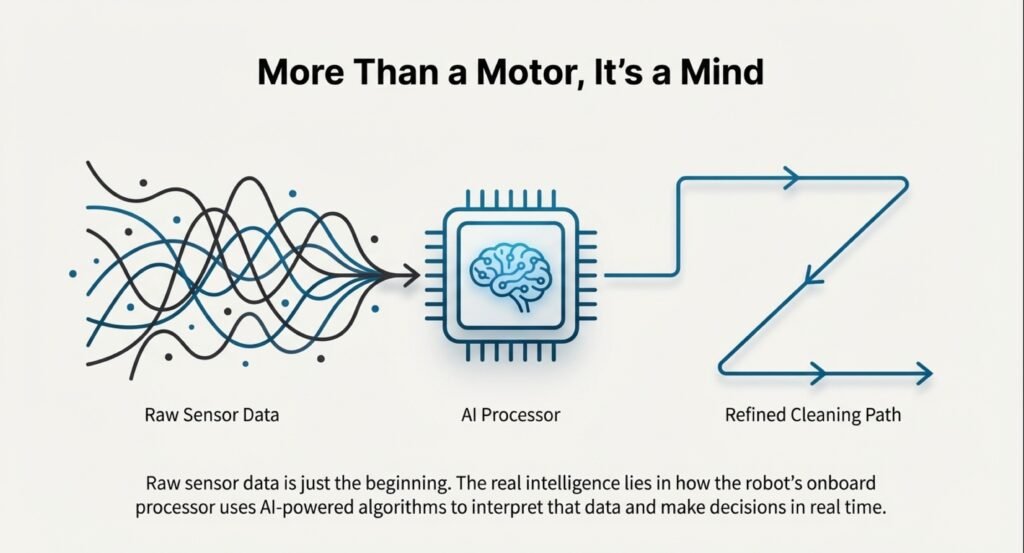

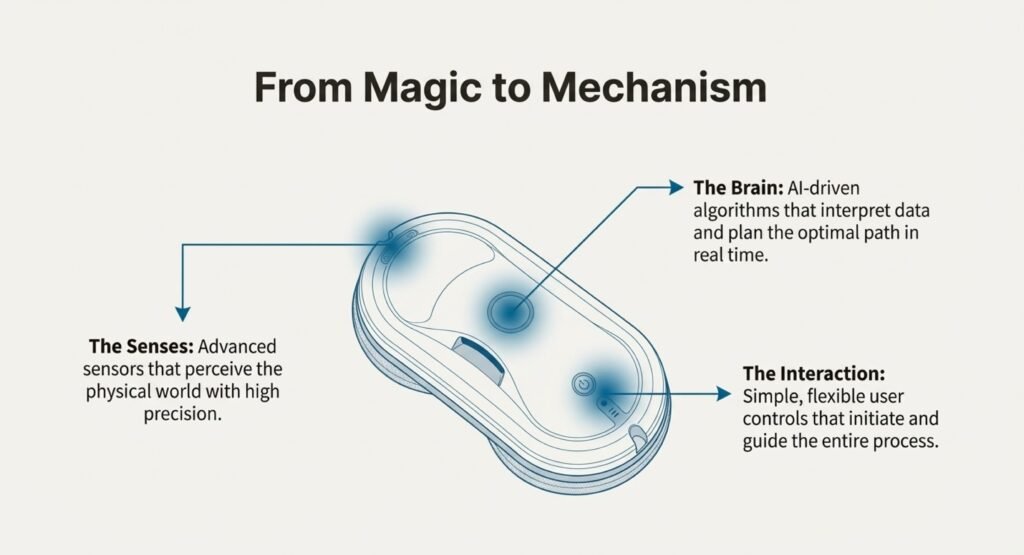
Smart cleaning robots use path planning algorithms to figure out the best cleaning route. These AI-powered systems tweak the robot’s speed and path based on what they sense on the glass. Some even ramp up cleaning if they spot extra dirt or stubborn stains.
It’s kind of like how AI tools like ChatGPT adjust answers on the fly. The robot’s processor takes in sensor data, analyzes it, and decides how to move or how much pressure to use, all in real time. This feedback loop helps it adapt as it goes.
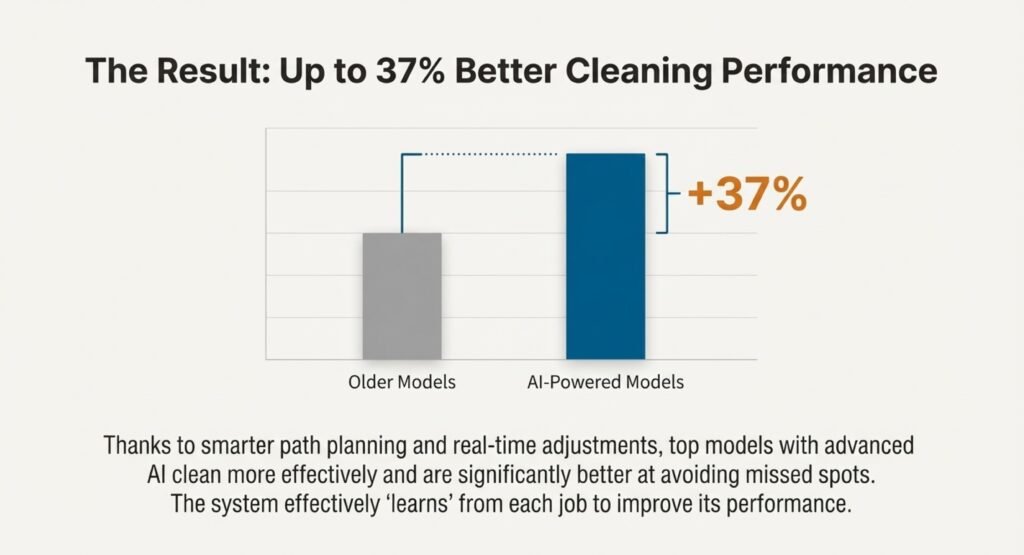
Top models clean up to 37% better than older ones thanks to smarter AI. The system “learns” from each job and gets better at not missing spots next time.
Common Calibration Methods
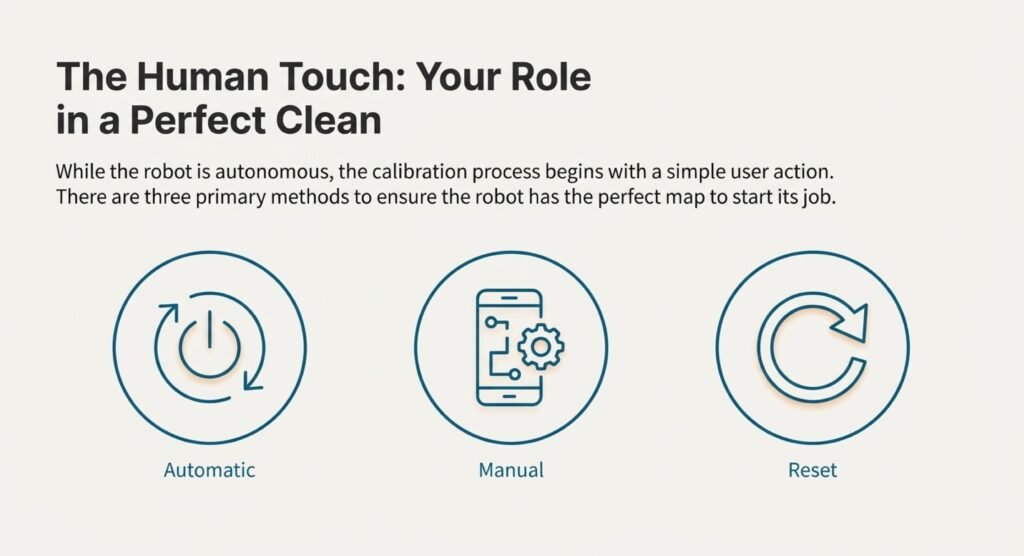
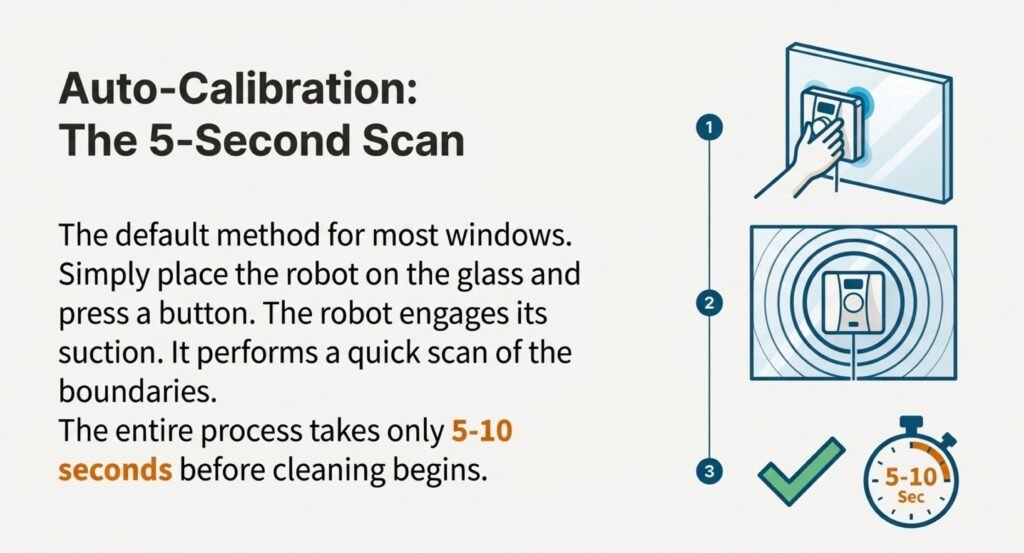
Most robots do an auto-calibration when you first stick them on the window. You hold it against the glass, press a button, and it uses suction and scans the boundaries in about 5-10 seconds.
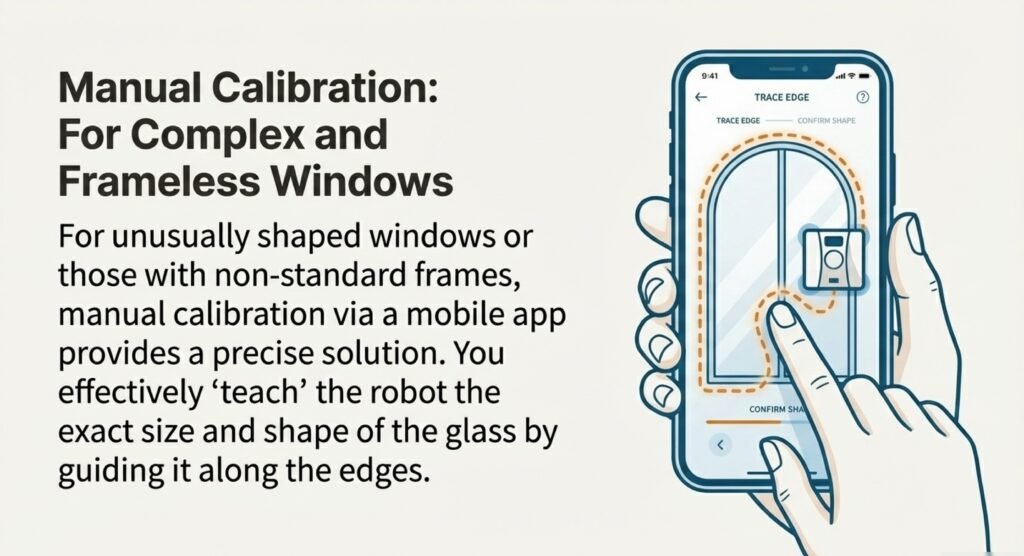
Manual calibration can also be done with a mobile app. You guide the robot along the edges, teaching it the size and shape of the window. This comes in handy for weirdly shaped windows or ones with odd frames.
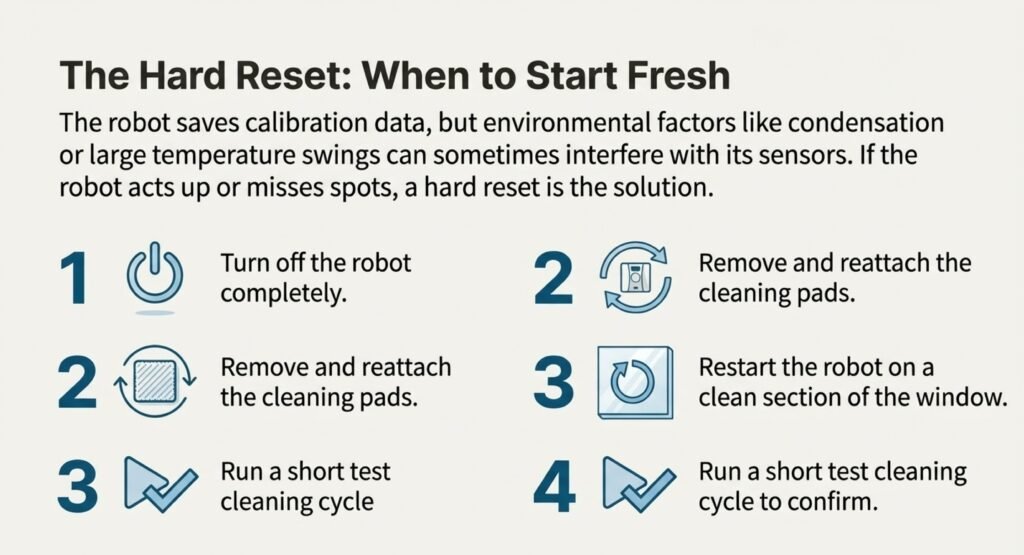
Sometimes, you’ll need a hard reset calibration if the robot keeps missing spots or acts up. Here’s how that usually goes:
- Turn off the robot completely
- Take off the cleaning pads and put them back on
- Restart the robot on a clean patch of glass
- Run a short test cleaning cycle
The robot saves calibration data between uses, but stuff like condensation or temperature swings can mess with it and force you to recalibrate.
Step-by-Step Robot Window Cleaner Calibration and Setup Workflow
Getting calibration right is about cleaning the window first, letting the robot learn the surface, and making sure it moves like it should before you walk away.
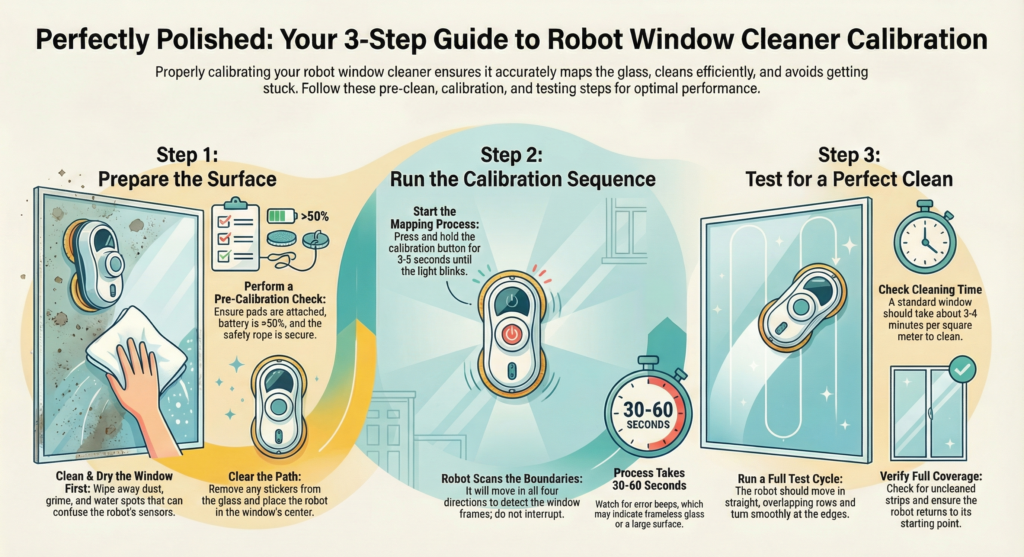
Preparing the Window and Device for Accurate Calibration

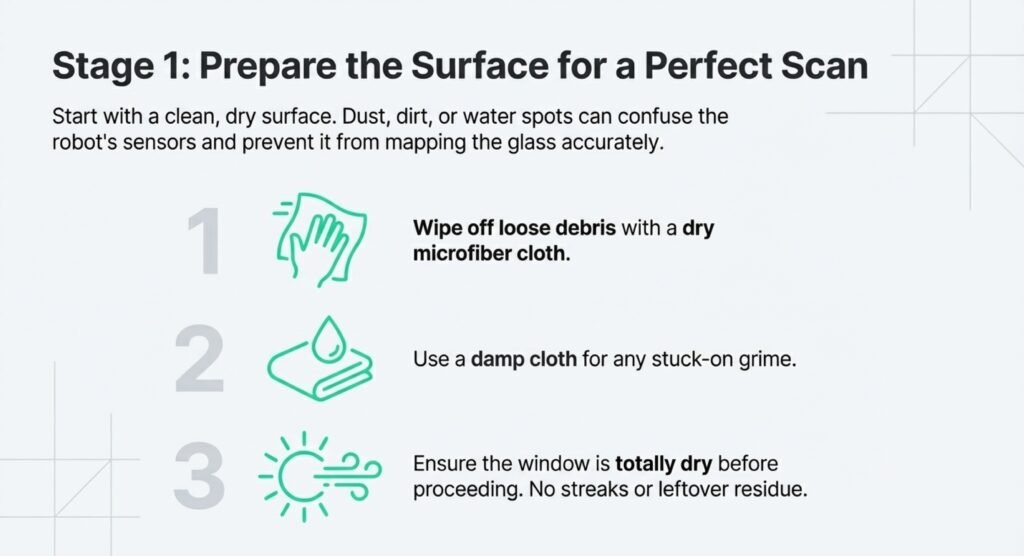
Start with a clean window. Dust, dirt, or water spots confuse the sensors during robot window cleaner calibration and make it harder for the robot to map the glass accurately.
Wipe off loose stuff with a dry microfiber cloth. Then use a damp one for any stuck-on grime. Let the glass dry all the way before you put the robot on.
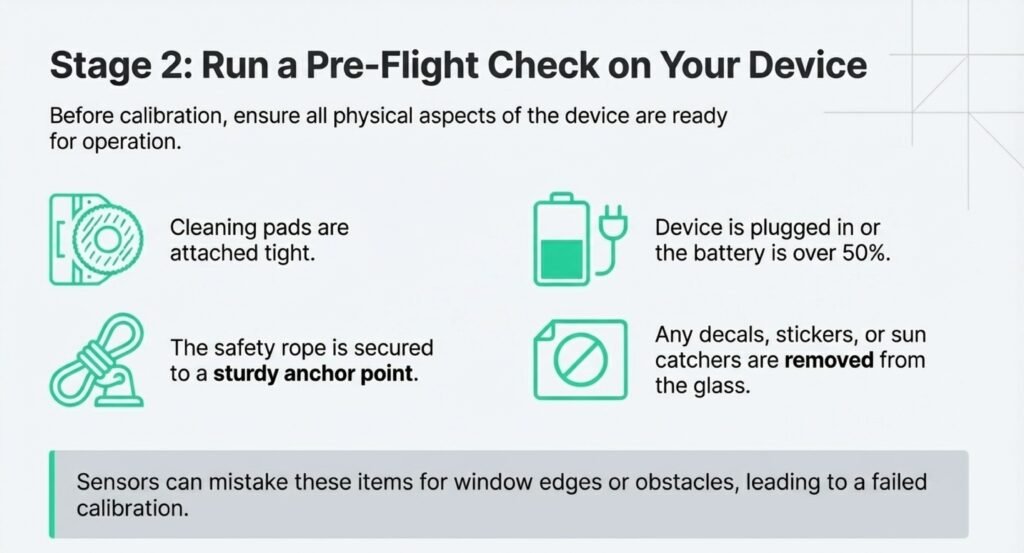
Check these things before calibrating:
- Window is totally dry
- No streaks or leftover residue
- Cleaning pads are attached tight
- Plugged in or battery over 50%
- Safety rope is secured somewhere sturdy
Take off any decals, stickers, or sun catchers. The sensors might mistake them for edges or obstacles during calibration.
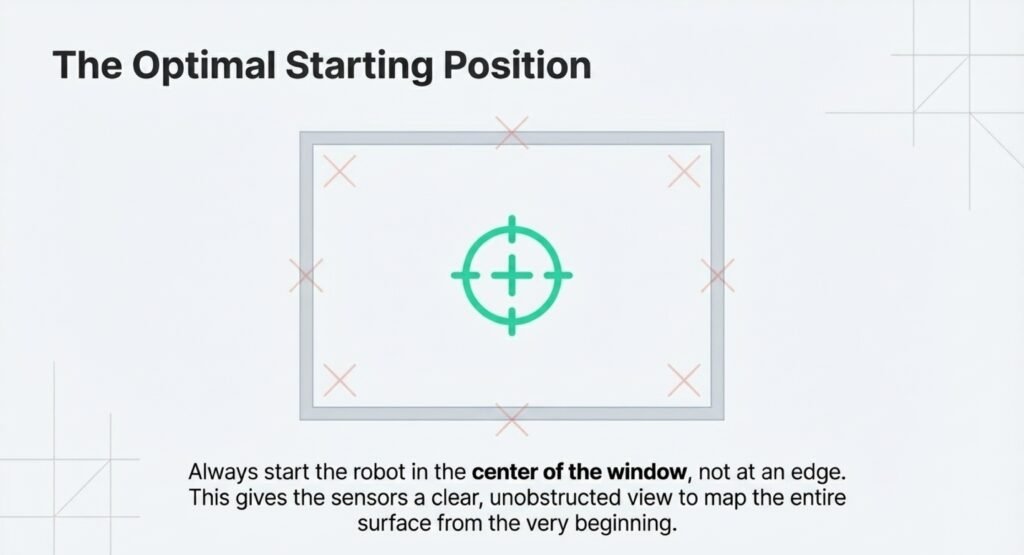
Start the robot in the center of the window, not at the edge. This gives the sensors a clear shot at the whole surface.
Running the Robot Window Cleaner Calibration Sequence
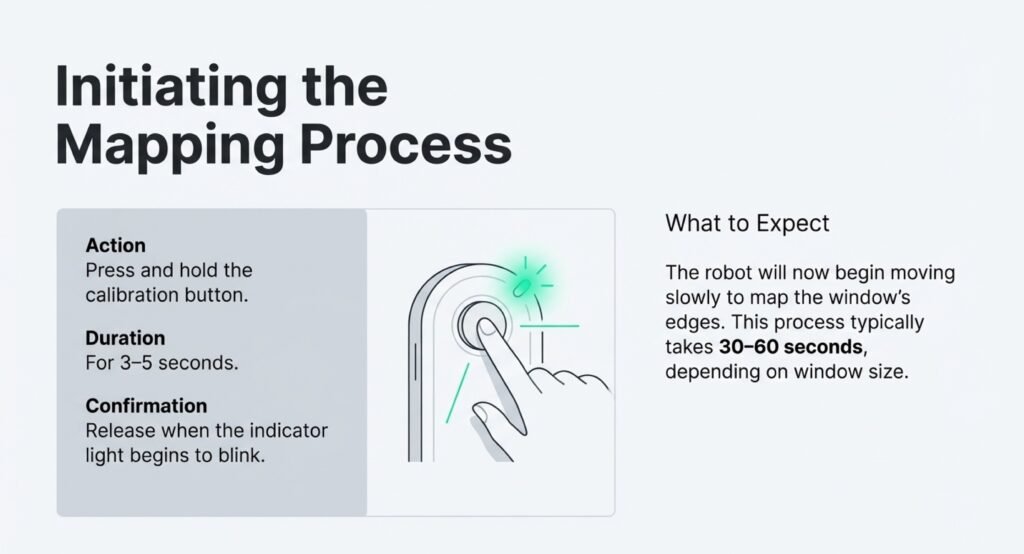
Hold down the calibration button for 3–5 seconds until the light blinks. The robot will start mapping out the window’s edges and updating its robot window cleaner calibration data.
It’ll move slowly in all four directions, feeling for the frame or a change in texture. This usually takes 30–60 seconds, depending on window size.
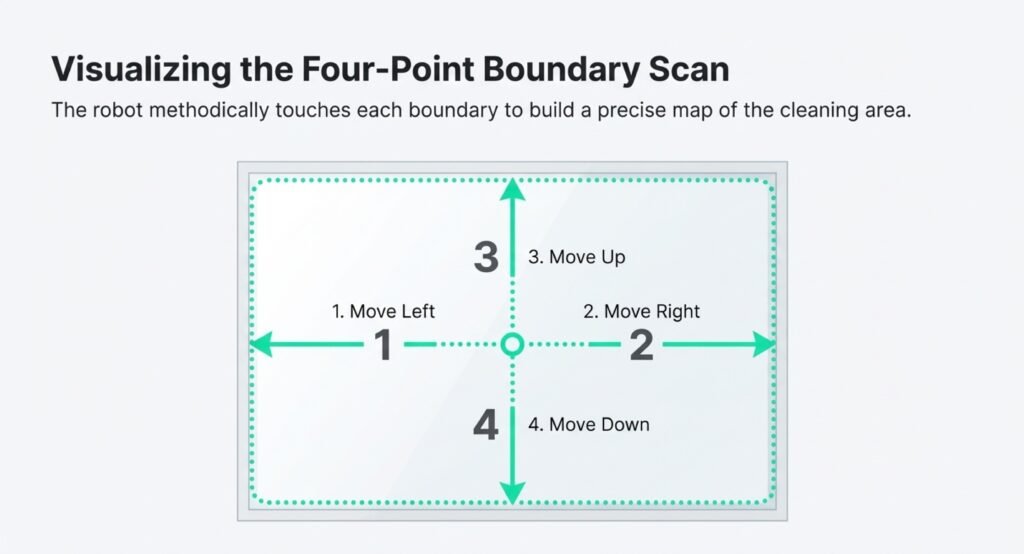
Here’s what the robot does:
- Moves left to find the edge
- Moves right for the other edge
- Goes up to spot the top
- Goes down to find the bottom
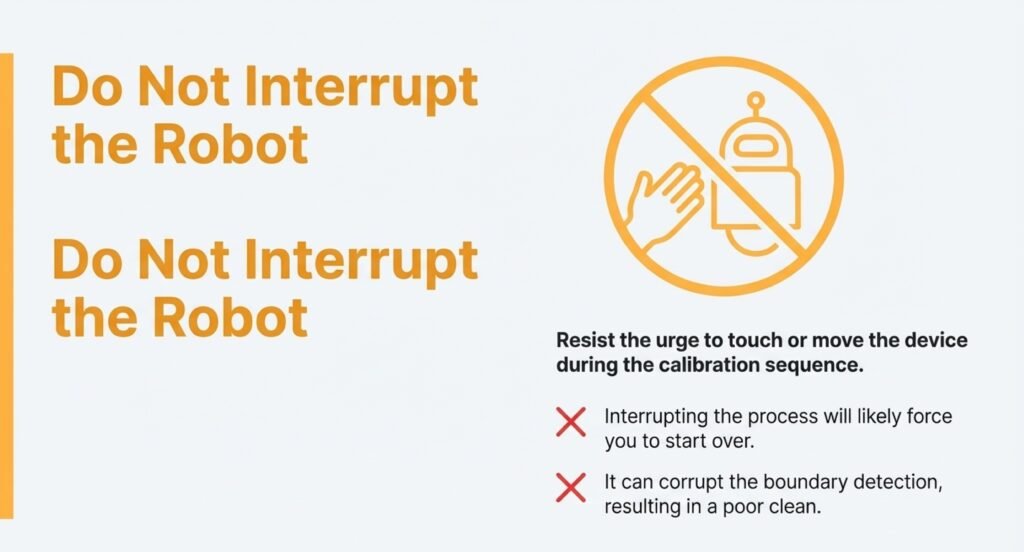
Don’t touch it during this step. If you interrupt, you’ll probably have to start over, and it might mess up the boundary detection.
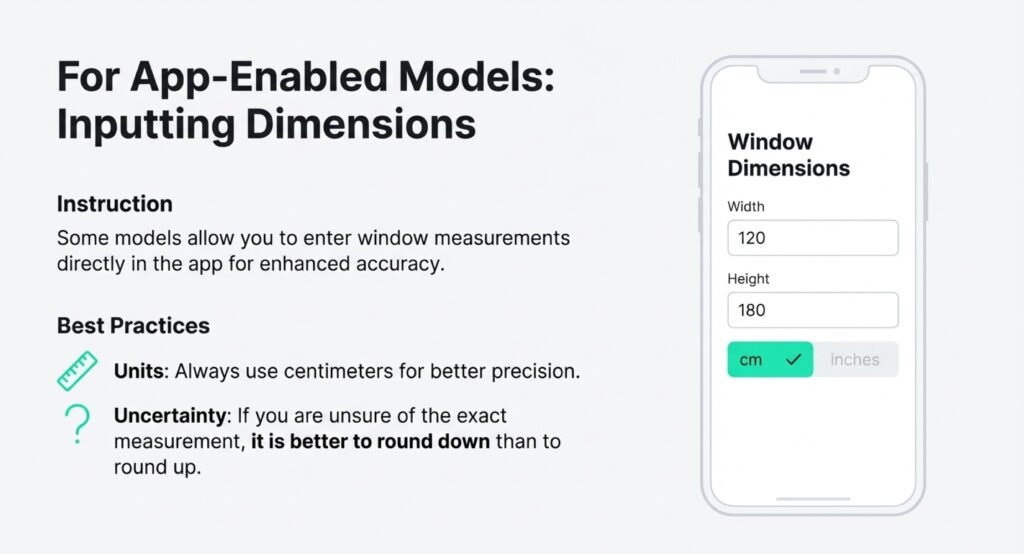
Some models want you to enter window measurements in the app. Use centimeters for better accuracy. If you’re not sure, it’s better to round down than up.
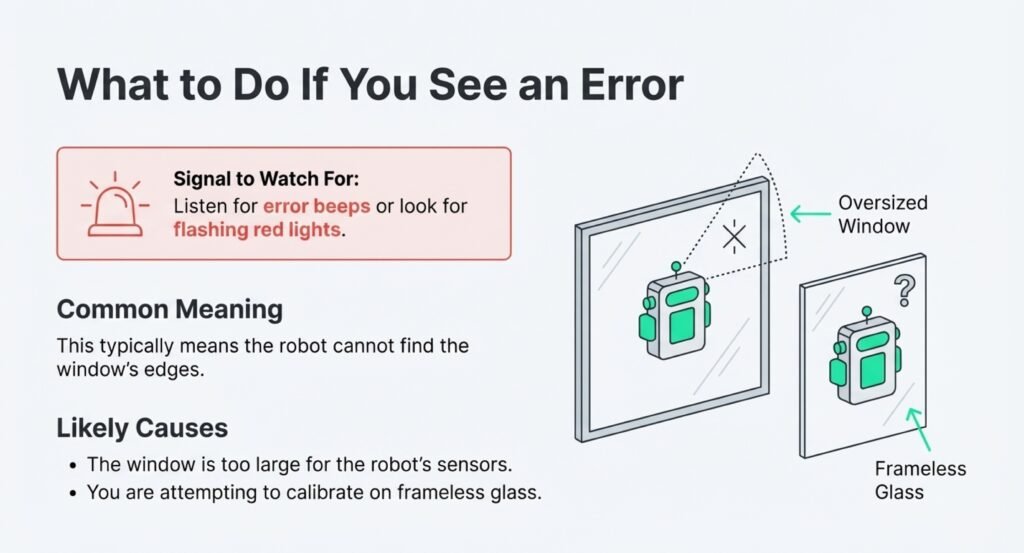
Watch for error beeps or flashing red lights. That means the robot can’t find the edges. Usually, it’s because the window’s too big or you’ve got frameless glass.
Testing Your Robot Window Cleaner After Calibration
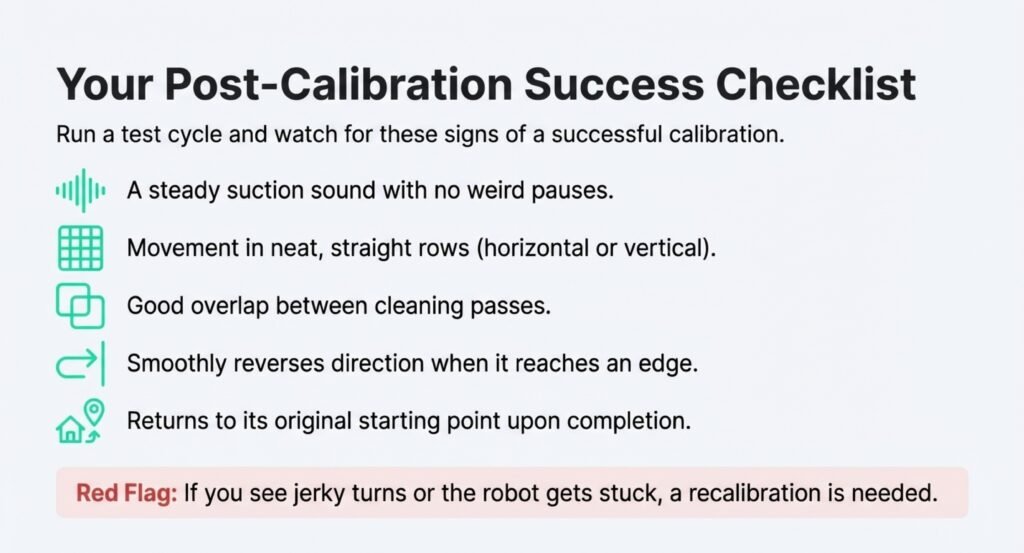
Once robot window cleaner calibration finishes, run a test cycle and keep an eye on things. The robot should move in neat rows and not keep bumping into the same spot over and over.
Make sure it reverses direction smoothly when it reaches the edges. If you see jerky turns or it gets stuck, you’ll probably need to recalibrate.
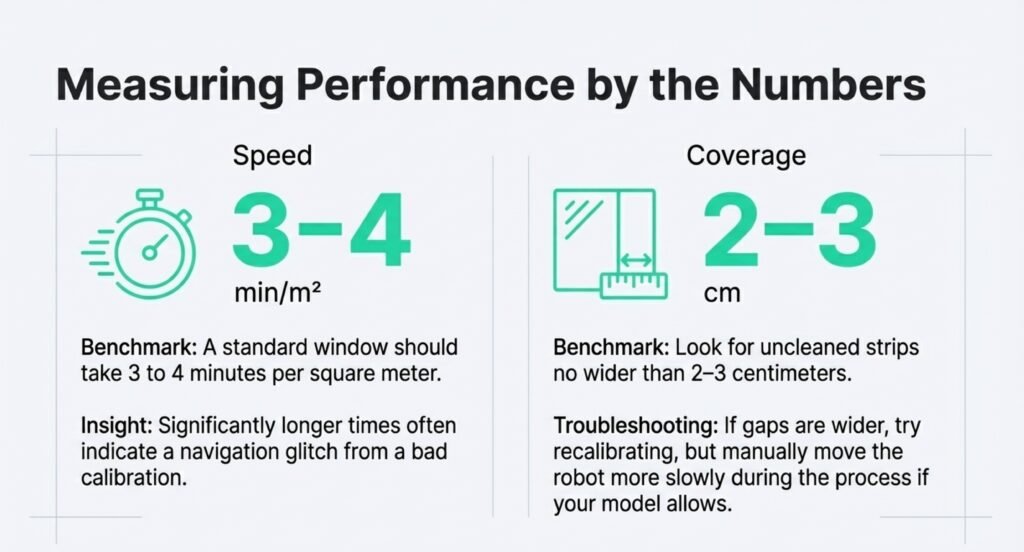
Time how long it takes to clean. Most robots handle a standard window in about 3 to 4 minutes per square meter. If it takes much longer, something’s off—likely a navigation glitch from bad calibration.
Watch for these things during your test:
- Steady suction sound, no weird pauses
- Paths that are straight—either horizontal or vertical
- Good overlap between cleaning passes, with no obvious missed strips
- Returns to where it started when it’s done
If you spot uncleaned strips wider than 2–3 centimeters, try recalibrating but move it more slowly. Some manufacturers have videos showing what proper coverage looks like, so those can be helpful for comparison.
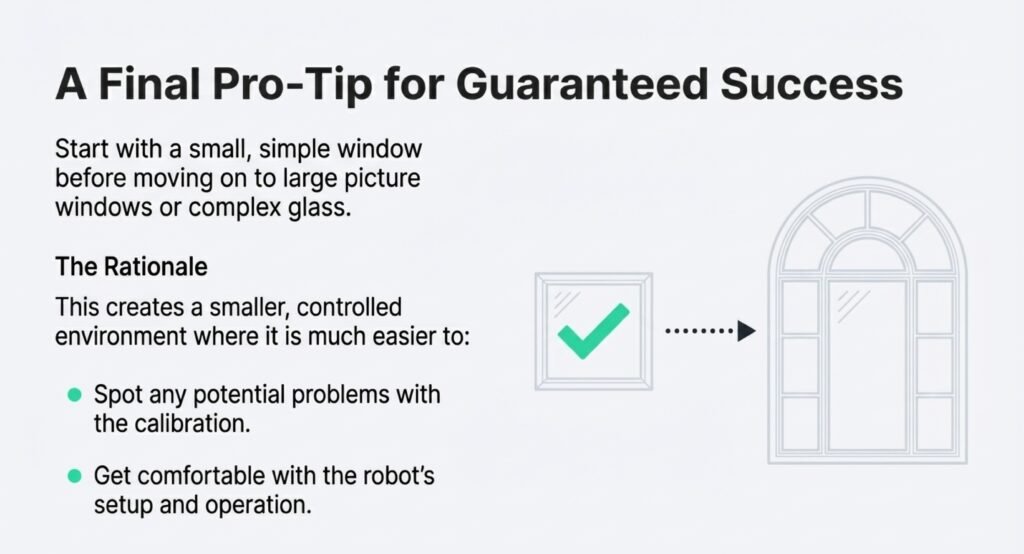
Start with a small window before moving on to big picture windows. It’s just easier to spot problems and get comfortable with the setup in a smaller, controlled space.
Common Mistakes When Calibrating a Robot Window Cleaner
Lots of people rush through calibration or skip important prep steps, which really does mess with how well the robot maps and cleans. Knowing these common mistakes can help you avoid wasting time on failed cleaning runs.
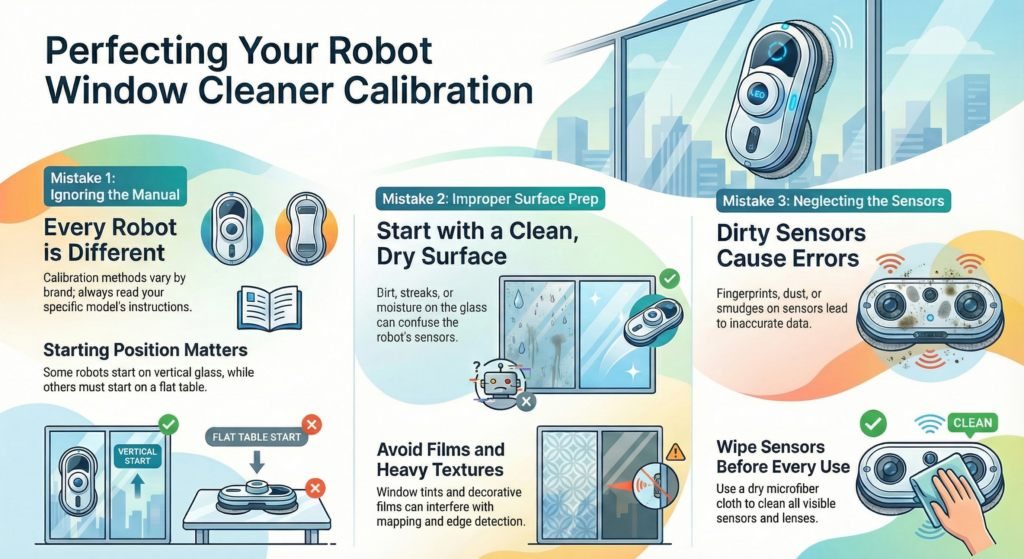
Skipping Manufacturer Instructions During Calibration
People often think all window cleaning robots work the same and don’t bother reading the robot window cleaner calibration steps for their specific device. But every brand has its own sensors and calibration process—sometimes it’s a certain button combo, sometimes it’s all done in an app.
Some robots need to start calibration on a vertical surface, others want to be on a flat table first. If you skip this detail, the sensors might record the wrong baseline, and then the robot can’t find edges or maintain good suction.
Writers who test a bunch of these devices say even experienced users should look at the manual every time they calibrate a new model. The steps change enough that what worked for one robot probably won’t work for another.
Incorrect Surface Preparation Before Robot Window Cleaner Calibration
Trying to calibrate on dirty, wet, or textured glass throws off the robot’s ability to figure out where it is. Dust or water drops mess with the sensors’ distance readings and edge detection.
The glass has to be totally dry and streak-free before you start calibration. Even a little leftover cleaning solution can make the robot slip, and that messes up all the calibration data.
Window tints, decorative films, or heavy textures also confuse the sensors. These surfaces reflect light differently than plain glass, so the robot struggles to map out the area properly.
Neglecting Sensor Cleanliness Before Calibration
Dirty sensors are a super common—and honestly, very avoidable—calibration problem. Fingerprints, dust, or dried cleaner on the sensors mess up the data the robot needs.
Just wipe every visible sensor with a dry microfiber cloth before each calibration. The edge sensors and navigation lenses need a clear view to measure distance and angles correctly.
People who use these robots a lot say you should check the sensors after moving or storing the device, since even a little handling can leave skin oils behind. Cleaning the sensors takes less than a minute and saves you hours of troubleshooting later.
Limitations and Downsides of Robot Window Cleaner Calibration Tricks

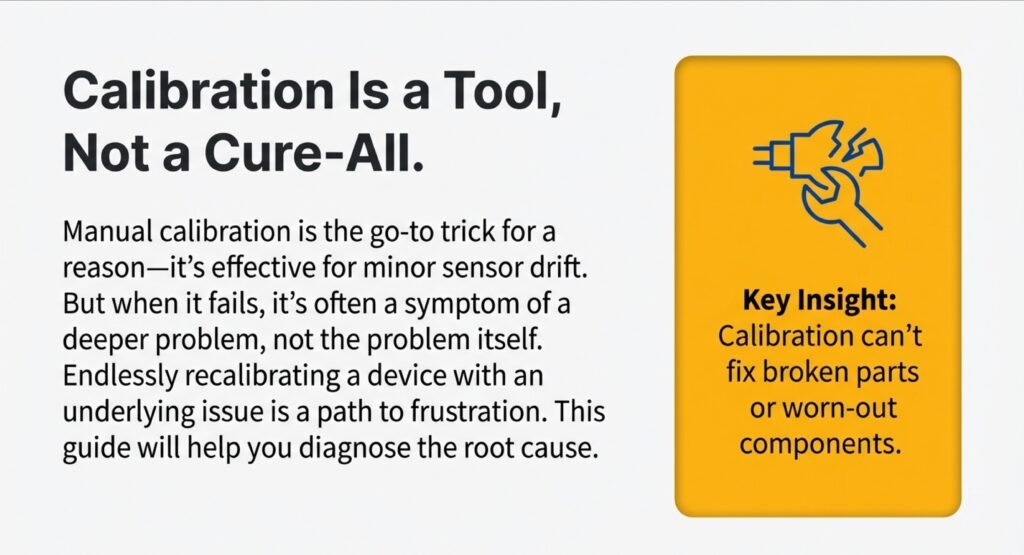
Calibration tricks can solve a lot of robot window cleaner problems, but they’re not a cure-all. There are some real limits to what you can fix on your own.
Limits of DIY Robot Window Cleaner Calibration Fixes
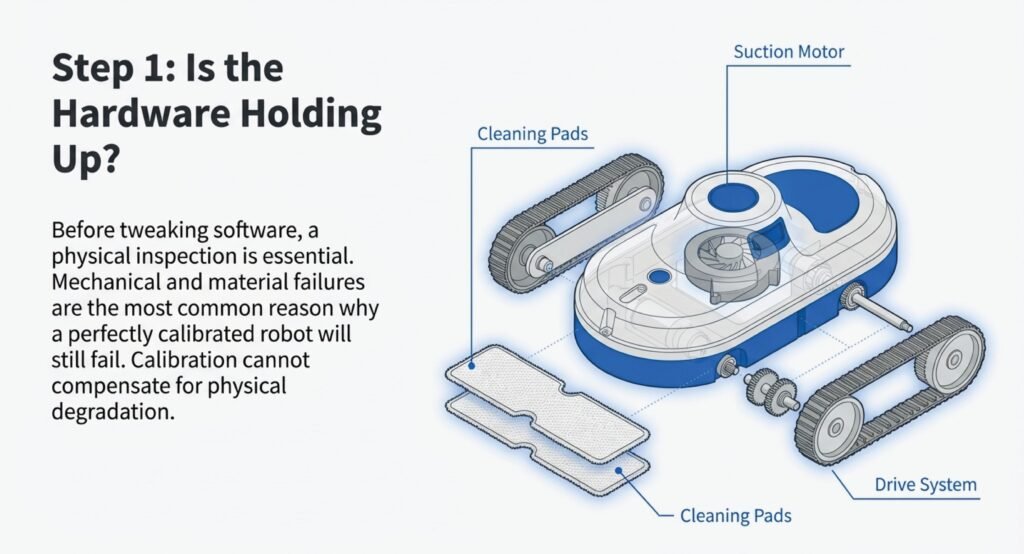
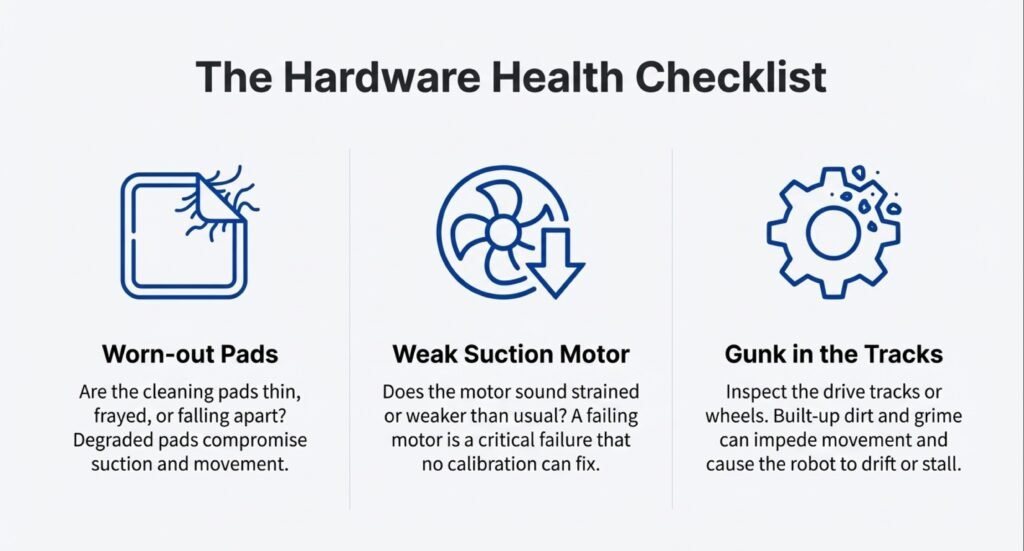
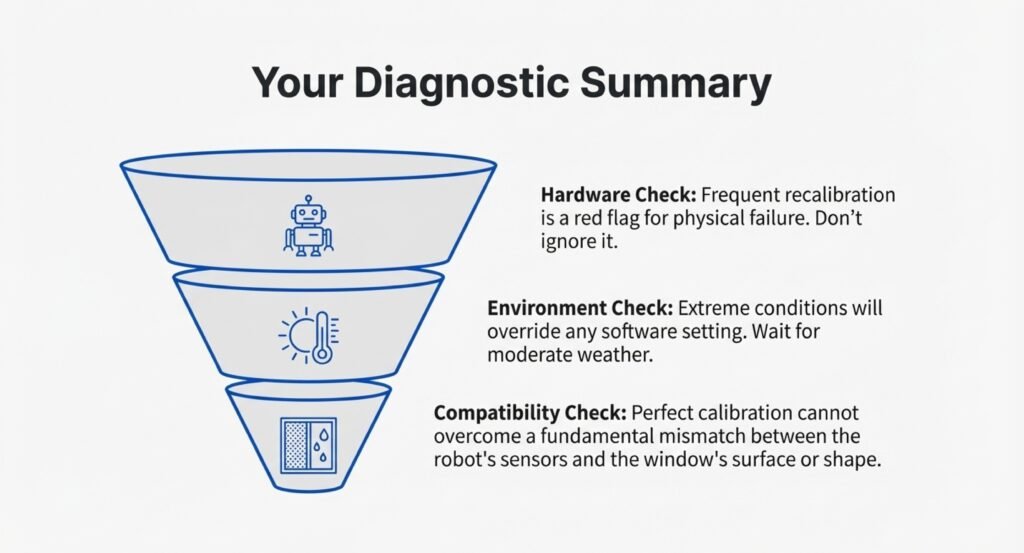
Manual calibration tweaks are fine for minor sensor drift, but they can’t fix broken parts or worn-out components. If the pads are falling apart, the suction motor is weak, or there’s gunk in the tracks, recalibrating won’t help at all.
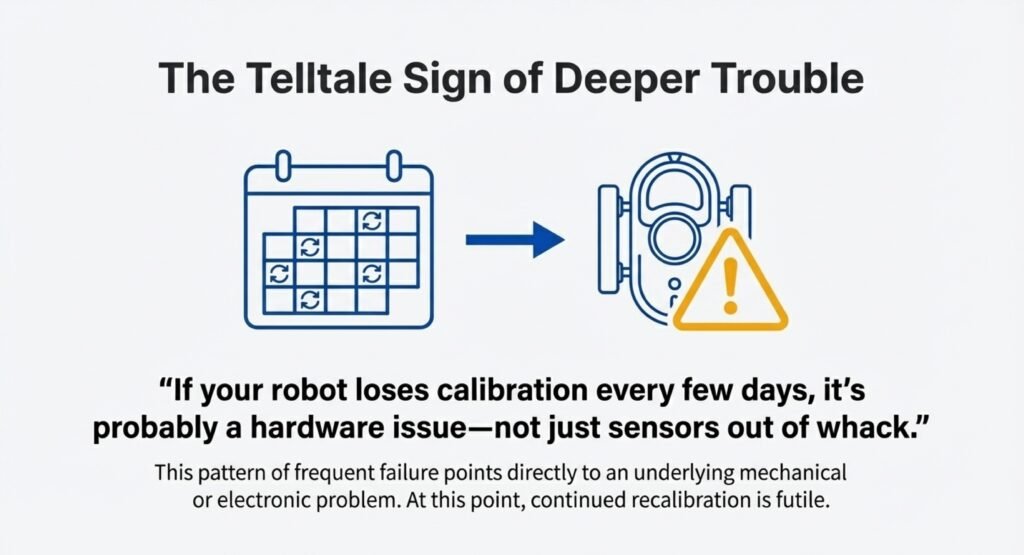
Common calibration errors are often caused by things in the environment that calibration alone won’t fix. If you’re running the robot in extreme heat, cold, or humidity, it might keep drifting off course no matter what you do.
If your robot loses calibration every few days, it’s probably a hardware issue—not just sensors out of whack. At that point, you might need professional service. Most manufacturers actually suggest professional calibration after the warranty’s up, so you don’t void your coverage.
Device and Window Compatibility Issues
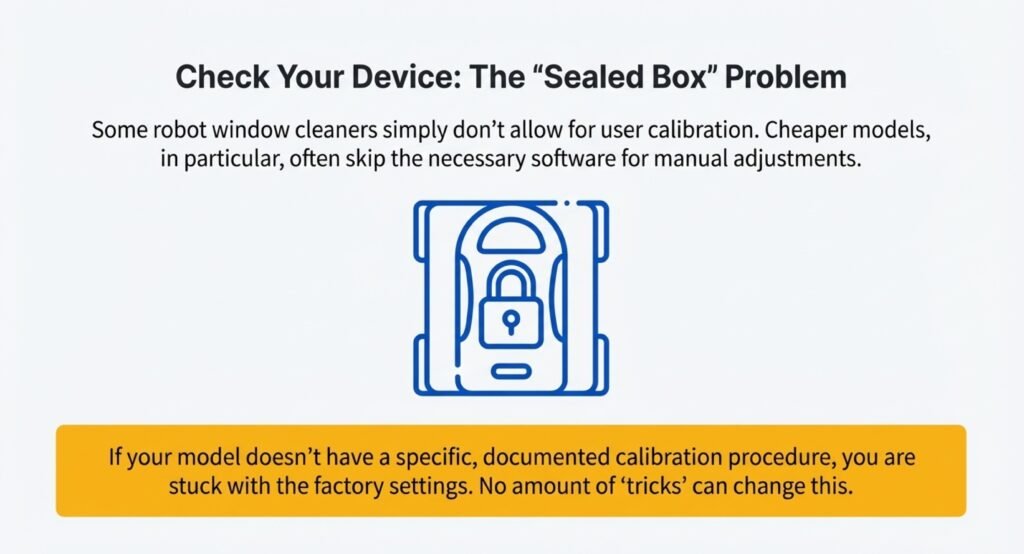
Some robot window cleaners don’t let users calibrate them at all. Cheaper models often skip the software needed for manual adjustments, so you’re stuck with whatever the factory set up.
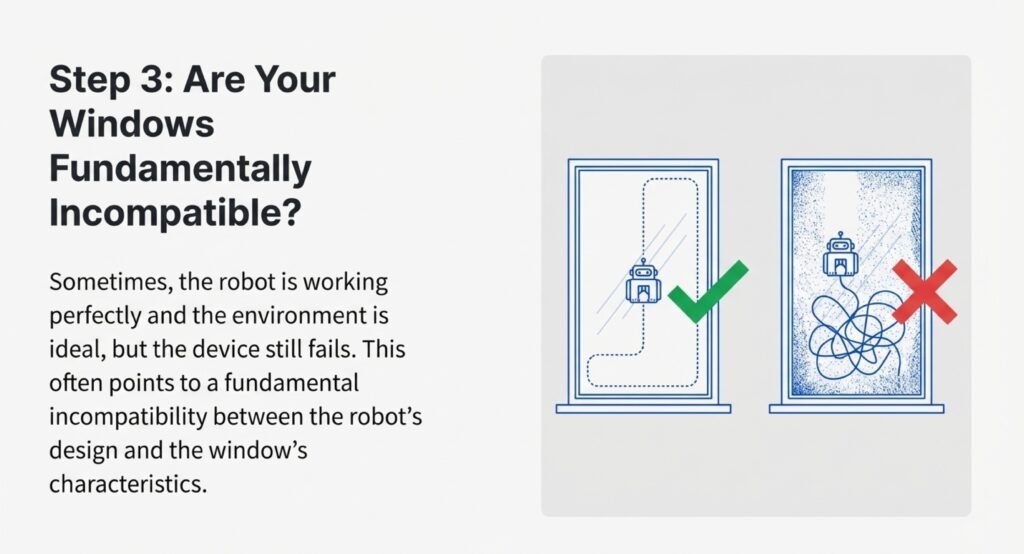
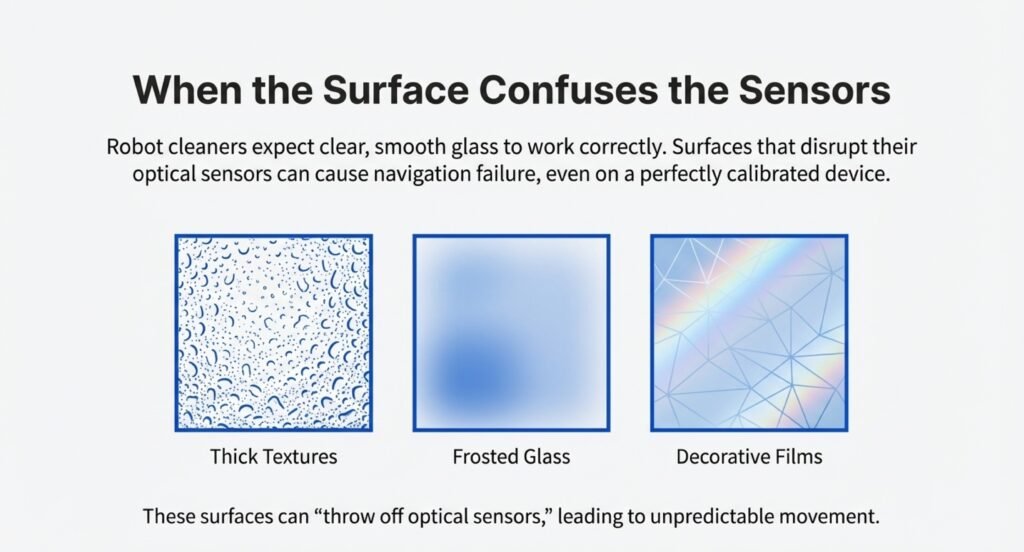
Window surfaces can create calibration headaches that tricks just can’t solve. Thick textures, frosted glass, or decorative films can throw off optical sensors, even if the robot is perfectly calibrated. These devices expect clear, smooth glass to work right.
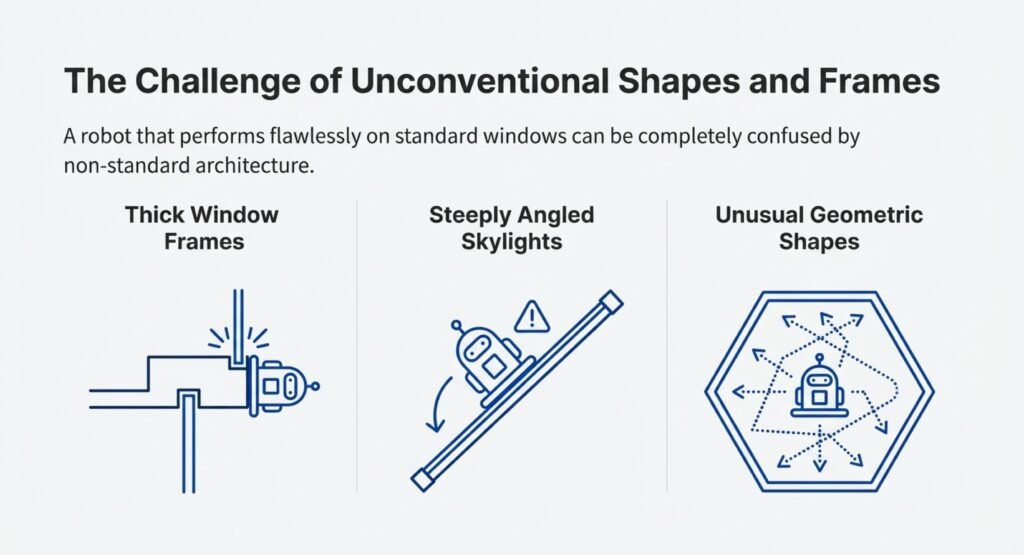
Odd window shapes and thick frames can also cause trouble. A robot that works fine on regular home windows might get confused by commercial glass or skylights set at a steep angle.
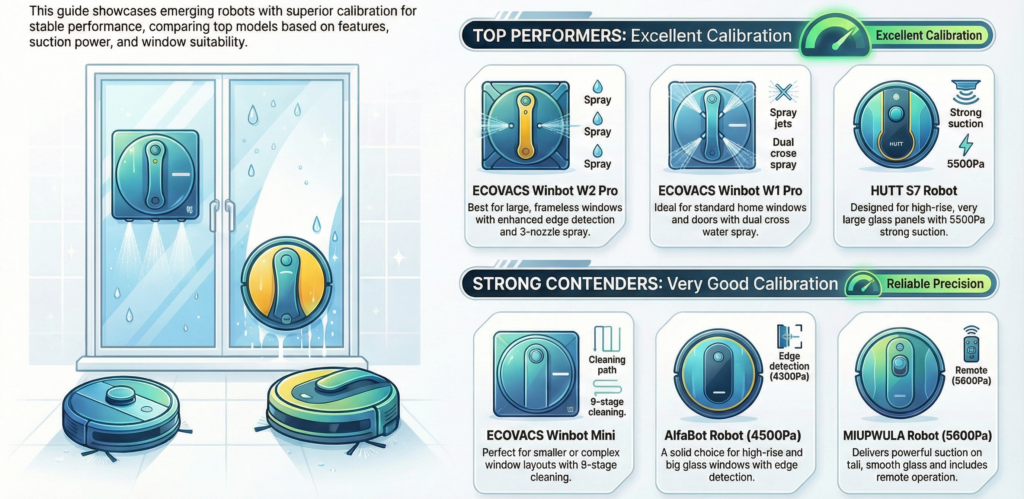
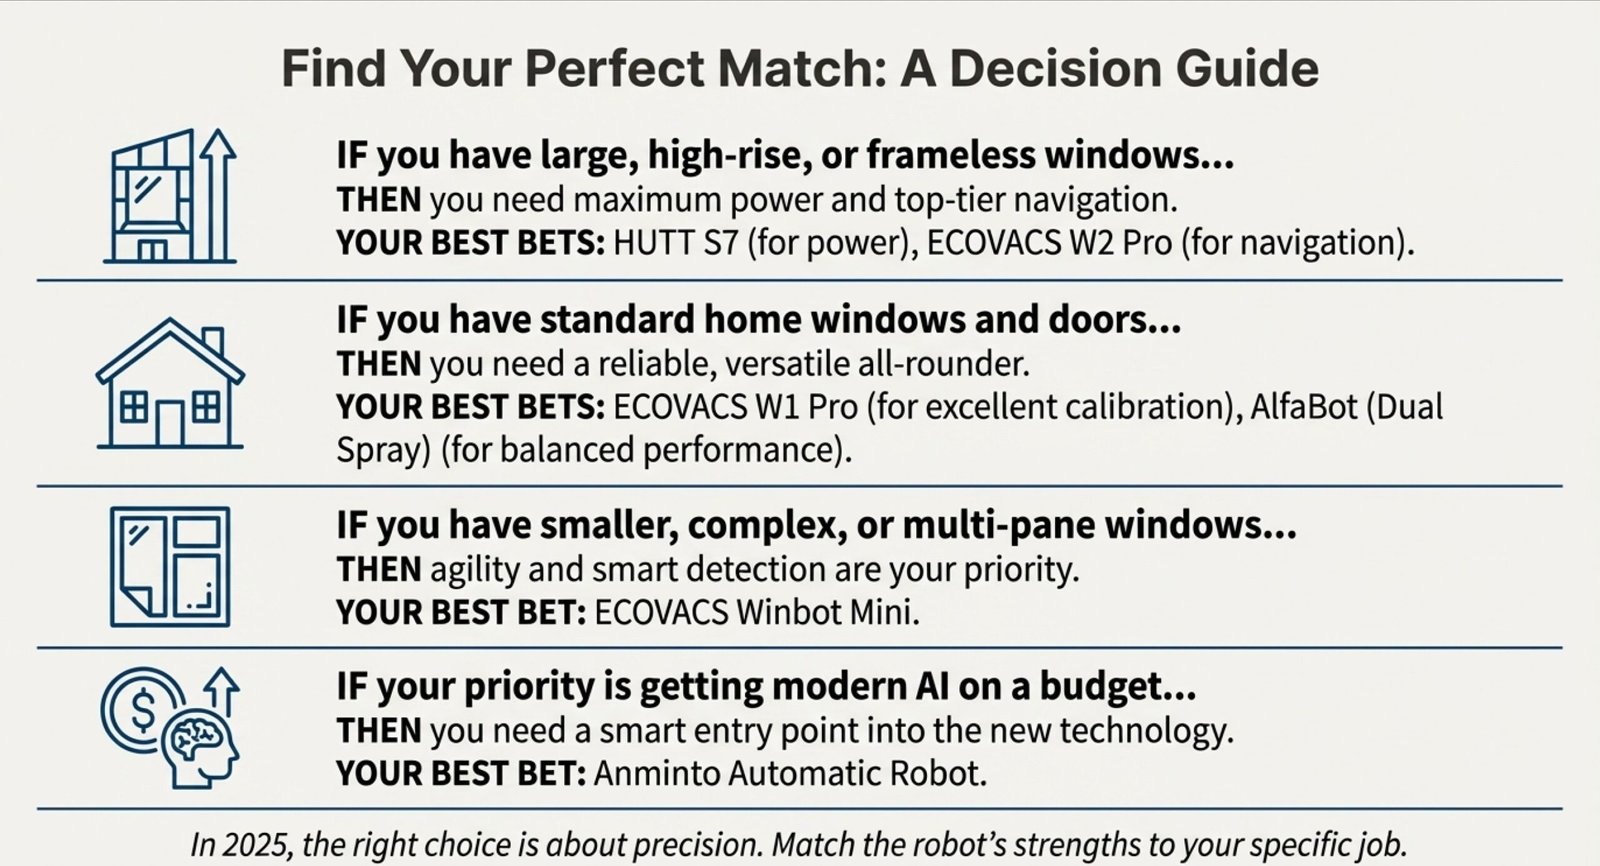
Best Emerging Window Cleaning Robots With Superior Calibration (2025)
Not all window cleaning robots calibrate the same way. Some models have far better edge detection, drift resistance, and sensor accuracy than older or cheaper units. If your current robot constantly loses its orientation or keeps stopping—even after recalibration—it may simply lack the hardware and AI needed for stable performance.


| Model | Key Features | Best For | Calibration Strength | Price / Buy |
|---|---|---|---|---|
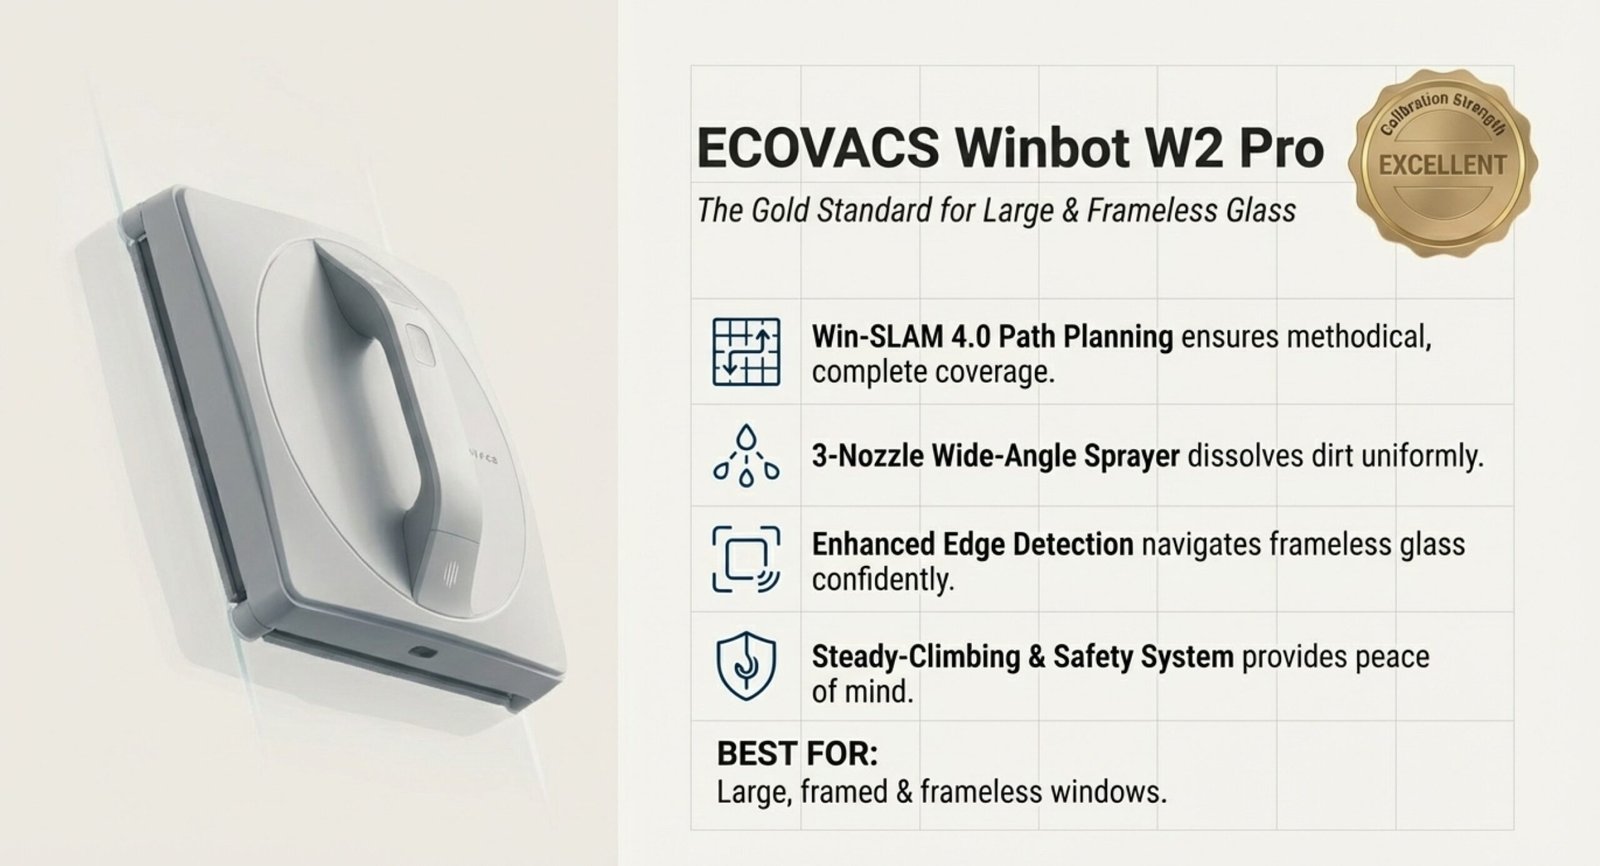
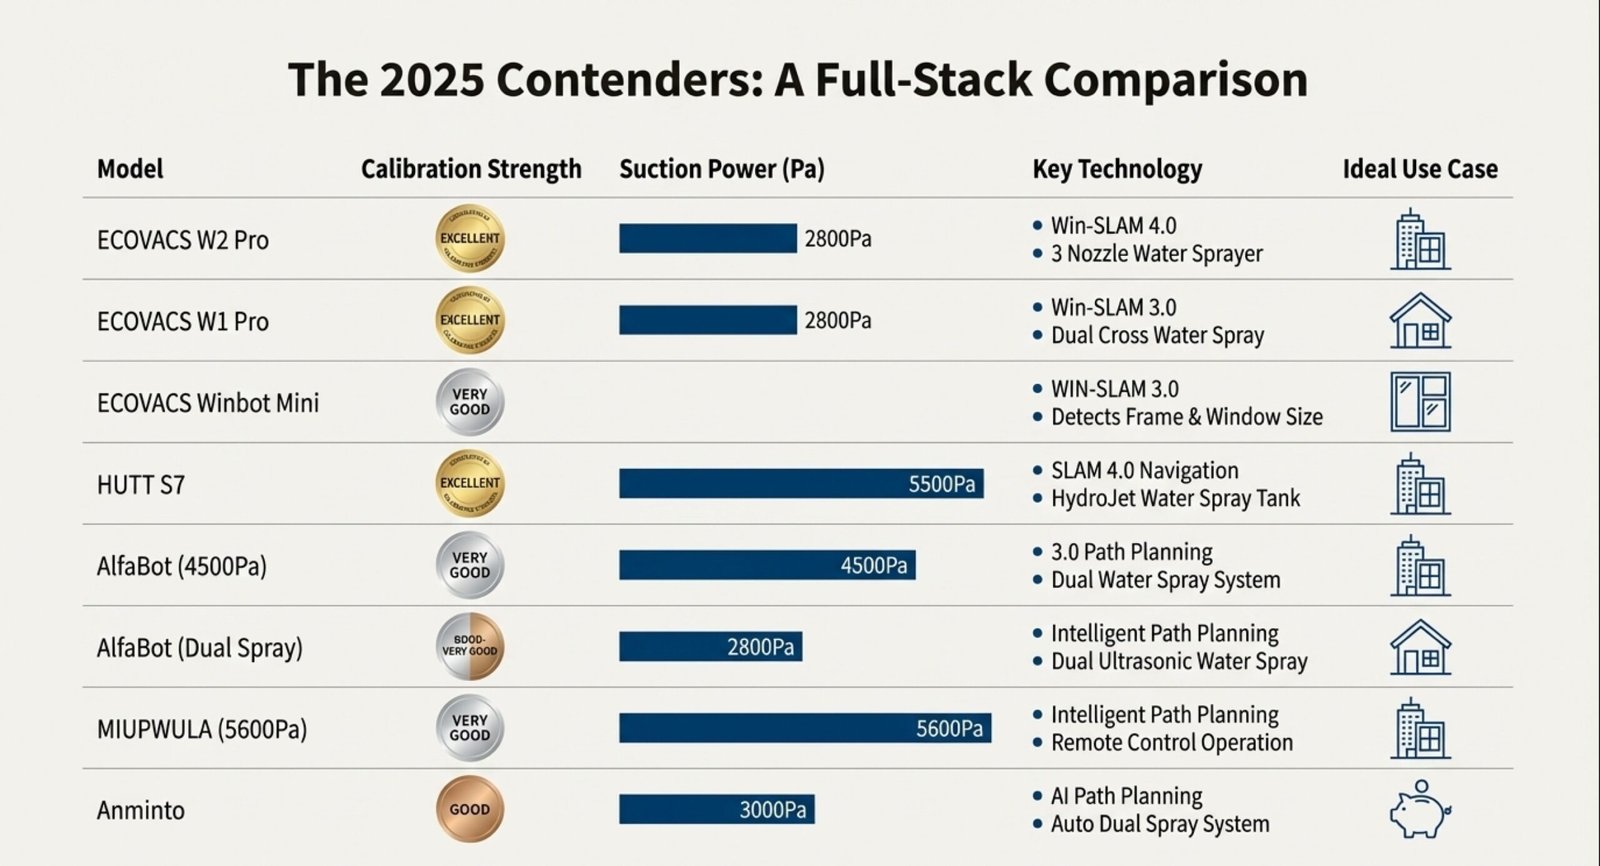
| ECOVACS Winbot W2 Pro |
✓ Win-SLAM 4.0 Path Planning ✓ Enhanced Edge Detection ✓ 3 Nozzle Water Sprayer ✓ Steady-Climbing & Safety System |
Large, framed & frameless windows | Excellent | View on Amazon |
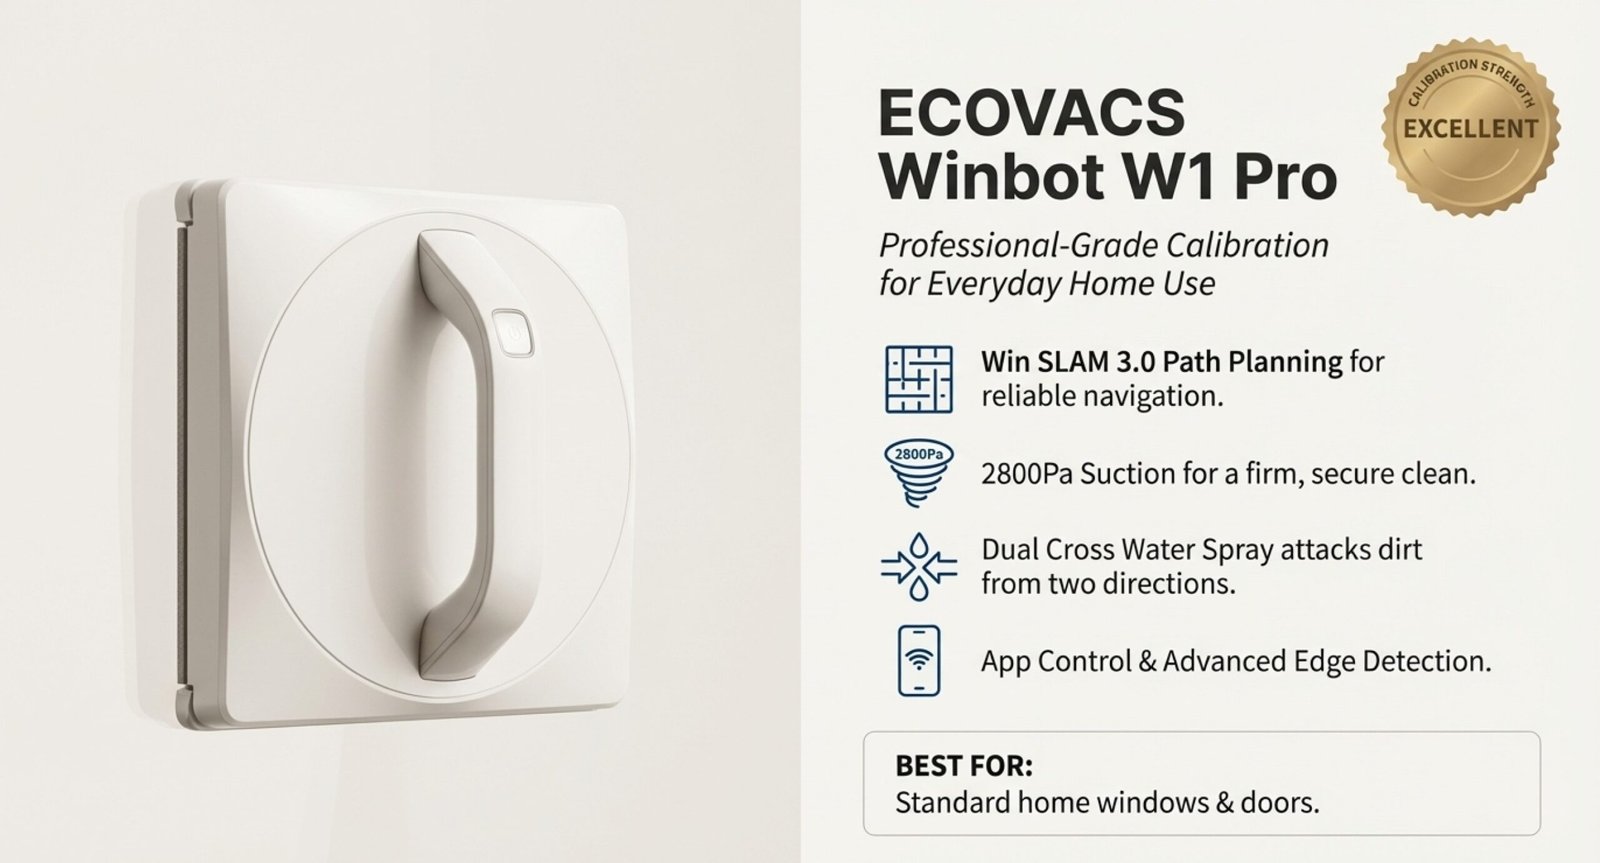
| ECOVACS Winbot W1 Pro |
✓ Win SLAM 3.0 Path Planning ✓ Dual Cross Water Spray ✓ 2800Pa Suction Power ✓ Edge Detection & App Control |
Standard home windows & doors | Excellent | View on Amazon |
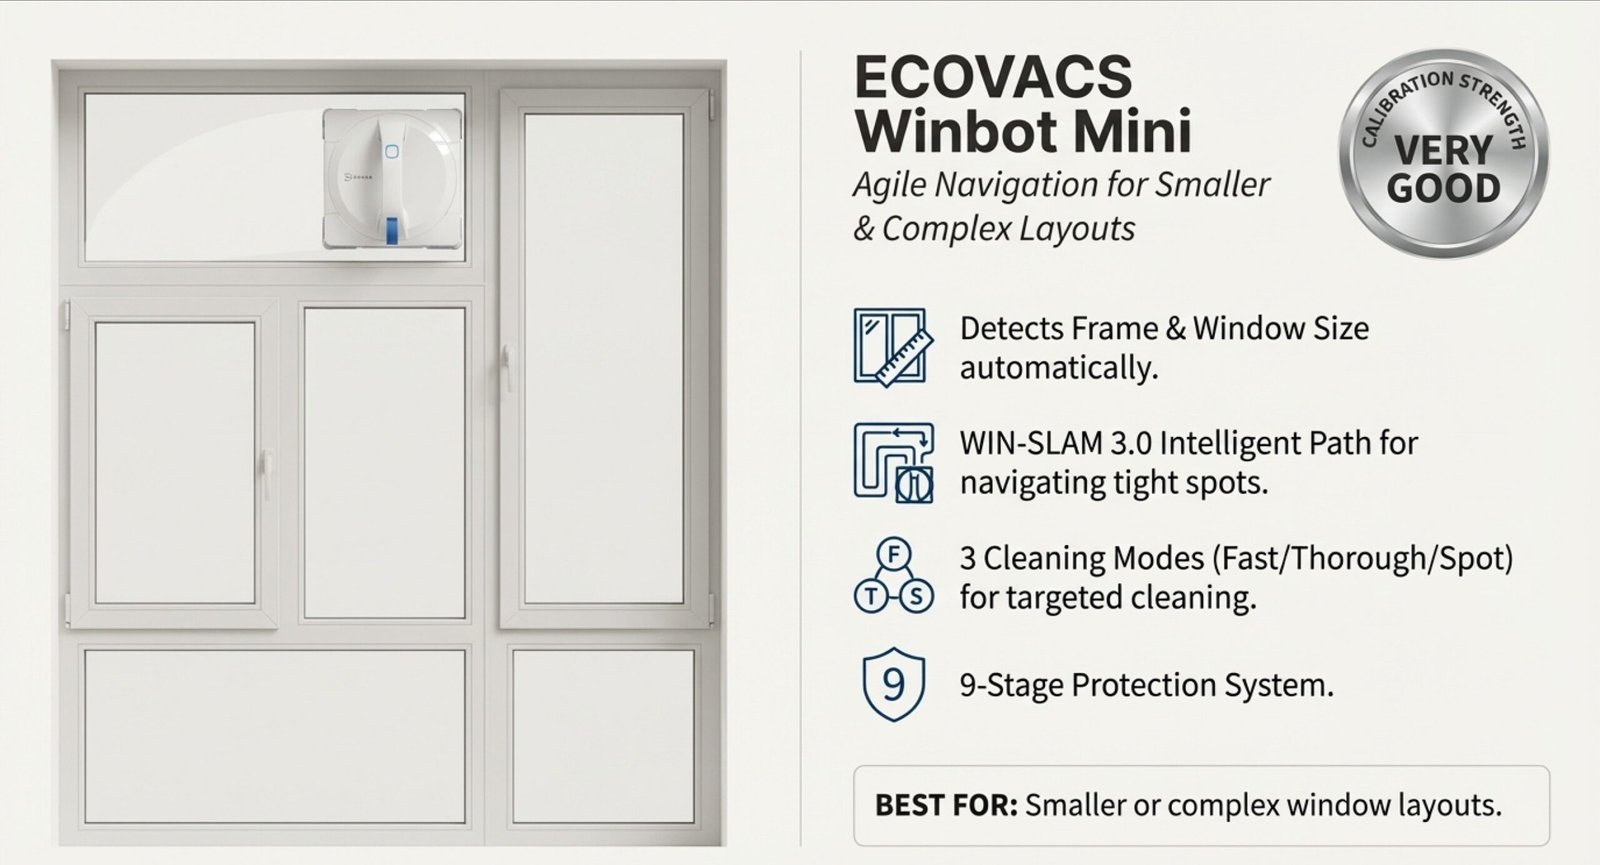
| ECOVACS Winbot Mini |
✓ WIN-SLAM 3.0 Intelligent Path ✓ Detects Frame & Window Size ✓ 3 Cleaning Modes (Fast/Thorough/Spot) ✓ 9-Stage Protection System |
Smaller or complex window layouts | Very Good | View on Amazon |
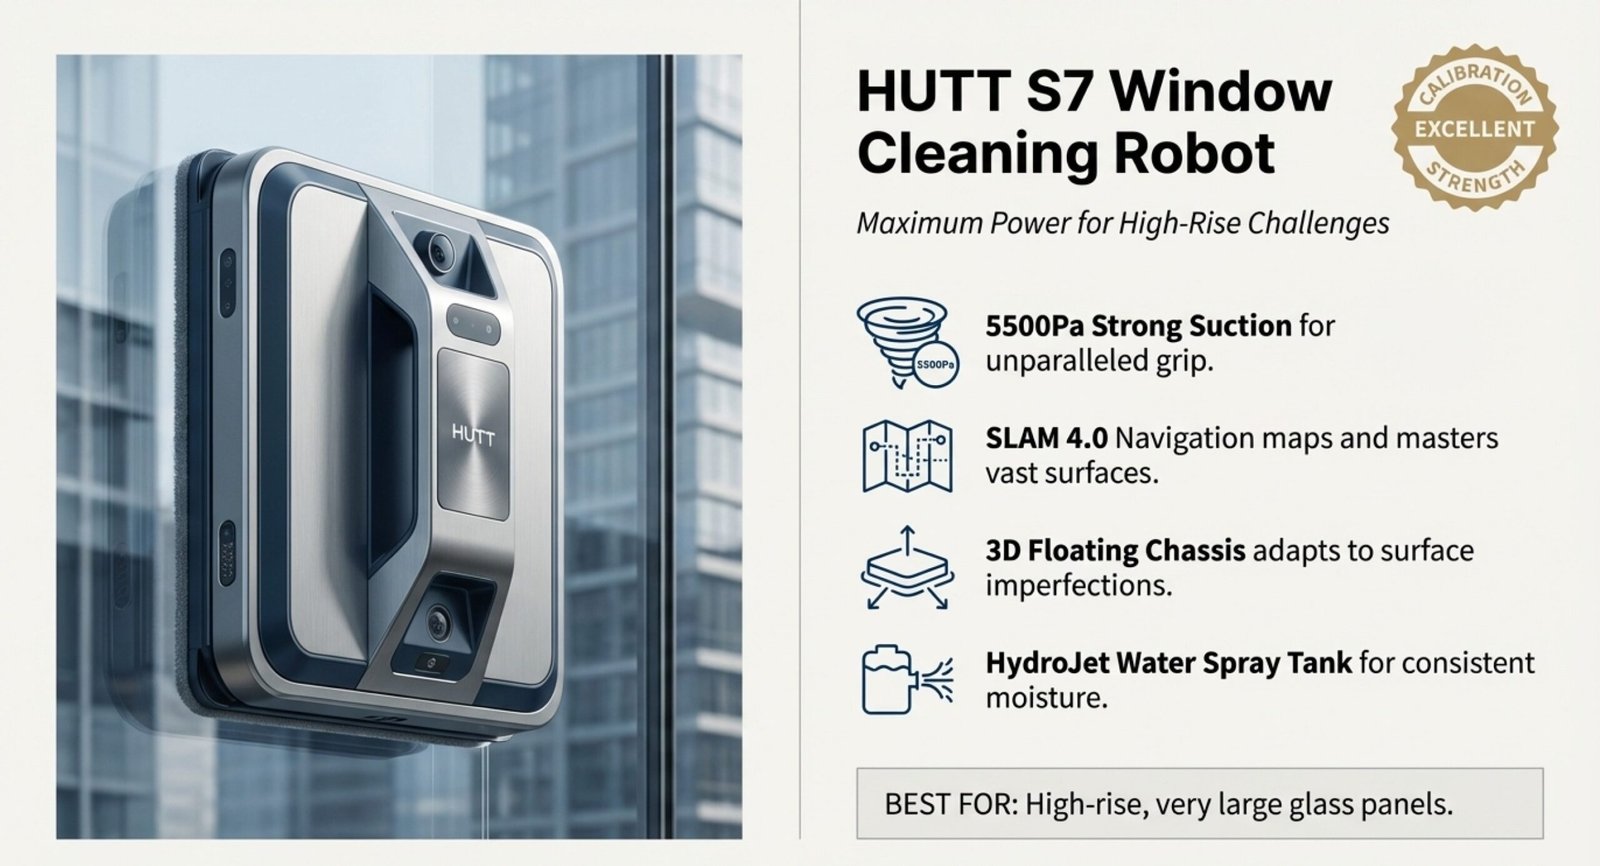
| HUTT S7 Window Cleaning Robot |
✓ 5500Pa Strong Suction ✓ 3D Floating Chassis ✓ HydroJet Water Spray Tank ✓ SLAM 4.0 Navigation |
High-rise, very large glass panels | Excellent | View on Amazon |
| AlfaBot Window Cleaning Robot (4500Pa) |
✓ 4500Pa High Suction Power ✓ Dual Water Spray System ✓ 3.0 Path Planning ✓ Edge Detection Technology |
High-rise & big glass windows | Very Good | View on Amazon |
| AlfaBot Window Cleaning Robot (Dual Spray) |
✓ Dual Ultrasonic Water Spray ✓ Intelligent Path Planning ✓ 2800Pa Suction Power ✓ Edge Detection for Frames |
Everyday home use, glass doors | Good–Very Good | View on Amazon |
| MIUPWULA Window Cleaning Robot (5600Pa) |
✓ 5600Pa Suction Power ✓ Intelligent Path Planning ✓ Edge Detection Technology ✓ Remote Control Operation |
Strong suction on tall, smooth glass | Very Good | View on Amazon |
Frequently Asked Questions
Robot window cleaners run into calibration problems for all sorts of reasons—sensor issues, weird window surfaces, or just plain setup mistakes. These can interrupt cleaning and mess with how safely the robot navigates.
How do you troubleshoot a robot window cleaner when it won’t calibrate properly?
Start by wiping all the sensors with a microfiber cloth. Dust, water spots, or leftover cleaner can block them and mess up readings.
Check that the power cable is plugged in tight and not damaged. Weak power can make the robot restart in the middle of calibration, which looks like it’s failing to calibrate.
Take off the cleaning pads and check for dirt or damage. If they’re worn out, the robot might not stick to the glass, and that throws off the calibration.
Turn off the robot completely and wait half a minute before starting it up again. That full reset clears out temporary software bugs that might be causing calibration issues.
What are the key steps to setting up and calibrating your robot window cleaner correctly from the beginning?
Clean the window really well before putting the robot on it. Dirt or streaks can confuse the edge sensors right from the start.
Put the robot in the center of the window, not near the edge. It needs space to find all the boundaries on its first scan.
Always attach the safety rope to something secure inside. Make sure there’s a little tension, but it shouldn’t tug on the robot while it’s running.
Wait for the suction motor to get up to full power before letting go. Most models need 10 to 15 seconds to build enough suction to stay put.
What could be causing a robot window cleaner to keep losing its path or orientation after calibration?
Reflective window coatings can mess with the sensors. The robot might see its own reflection or a UV layer and think it’s an edge or obstacle.
Bumpy window surfaces—like raised frames or textures—also confuse the sensors. These robots expect a flat, smooth surface to track their position.
Low battery can mess with sensor readings, even if the robot still moves. The sensors need steady voltage to stay accurate through the whole cleaning cycle.
Strong sunlight can overpower the robot’s infrared sensors, making it lose track of where it’s already cleaned.
What safety precautions should you consider before fixing robot window cleaner calibration issues?
Always keep the safety rope attached when testing fixes. Even if the suction feels strong, calibration problems can cause sudden drops.
Work on ground-level windows first when troubleshooting. That way, if something goes wrong, there’s no risk of a big fall or broken robot.
Don’t open windows while the robot is running or calibrating. Changing the air pressure can drop the suction and make the robot fall off.
Unplug the power supply before cleaning sensors or opening panels. Some robots have capacitors that hold a charge even after being turned off.
Can weather conditions affect robot window cleaner calibration, and how can this be fixed?
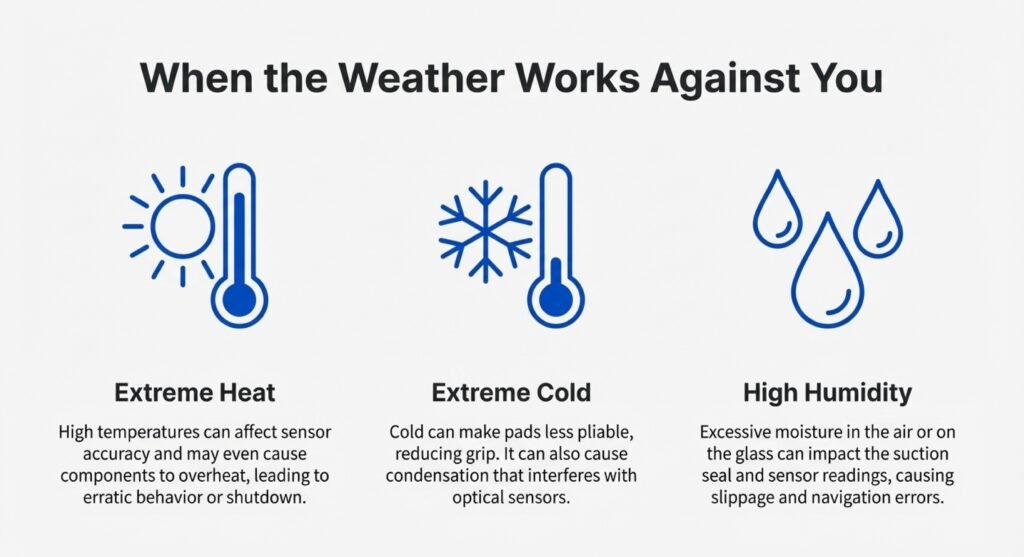
Cold weather below 40°F slows down the motors and drains the battery faster. The robot might calibrate okay but then fail when cleaning because suction is too weak.
High humidity creates condensation on the sensors and the glass. That moisture messes up edge detection and can make the robot stop over and over.
Strong winds can change the air pressure across the window, which affects suction. The robot’s sensors might see this as a calibration problem if the suction keeps changing.
Wait for temps above 50°F and humidity under 70% before calibrating. If there’s condensation, dry the window and the robot sensors with a cloth first.
What should you do if the robot window cleaner keeps stopping or starting in the middle of its job after calibration?
First, take a look at the window for any obstacles—stuff like stickers, leftover tape, or maybe even bird droppings. Robots tend to get confused by these things and will often stop to figure out what’s going on.
Check the cleaning path in the app (or on the display, if yours has one). Some models let you tweak the sensitivity, which changes how picky the robot is about bumps or odd spots on the glass.
Listen to the motor for any weird changes in sound. If the suction keeps turning off and on, you might be dealing with a clogged filter or maybe the pump motor is starting to go bad.
Swap out the cleaning pads if they’re older than three months or just look worn out. Worn pads can mess with the pressure, and that often makes the robot stop for safety reasons.
Link magnet for window-cleaning cluster 👌